Starting the installation of the server
Starting the installation of the server
You can install the ACMP server using an .iso file provided by Aagon. Navigate to this file in your resources directory and place the ISO in a virtual drive or unpack the ISO with e.g. 7-Zip. Then open the dvdstart.exe from the virtual drive or the unzipped directory with a double click.
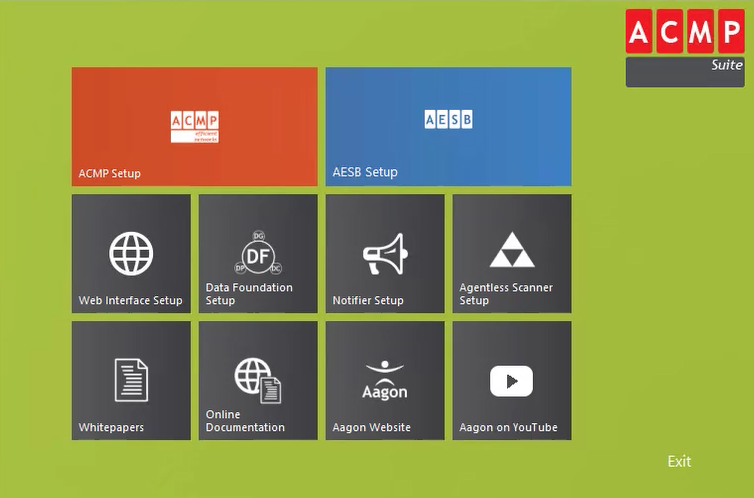
Start the ACMP setup with a mouse click. A wizard will guide you through the installation step by step. First select the language in which the installation will be performed. Please note that this is only the installation language and not the language in which ACMP can be opened afterwards.
License agreement
Read and accept the licence agreement for the installation of the ACMP server. If you do not accept it, the installation cannot continue and must be cancelled.
Database installation
There are three options for setting up a database:
| Type of database | Description |
| „Use existing Microsoft SQL Server: Existing database“ | If you have previously created a database on your SQL Server (e.g. using Management Studio) and want to use it, you can use this database for the ACMP installation. |
| „Use existing Microsoft SQL Server: Create new database“ | With this option a new database will be created by the ACMP setup. In order for the database to be created, you must specify a user with sufficient rights. This user will also create a new database user that is specific to the ACMP, so that this user does not have broad rights, but only access to the ACMP database. To learn how to create a database correctly, see the related white paper. |
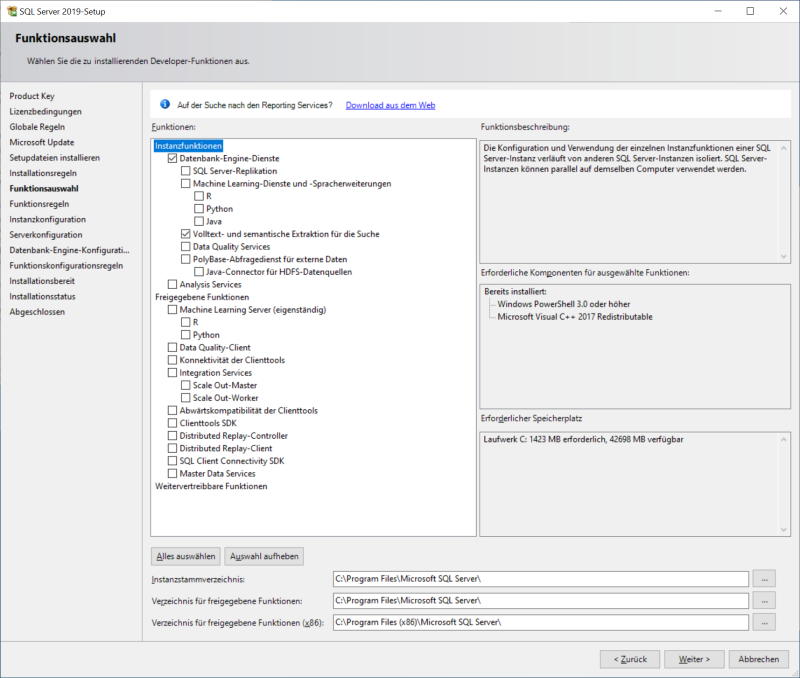
| „Install Microsoft SQL Server 2019 express locally“ | The SQL Server is installed directly in the background by the setup, which means that subsequent configuration is not mandatory. |
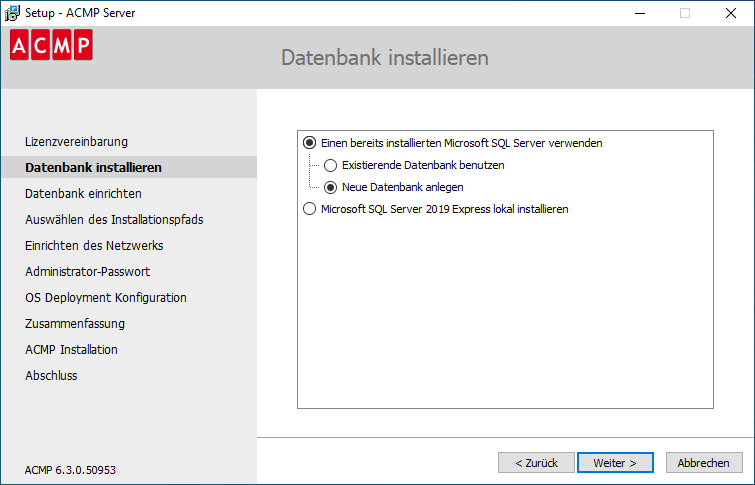
Select the appropriate option for your environment. If the Native Client is not installed, it will be installed automatically for all options.
Configure database
Enter the connection parameters for the database so that it can be successfully set up and used later.
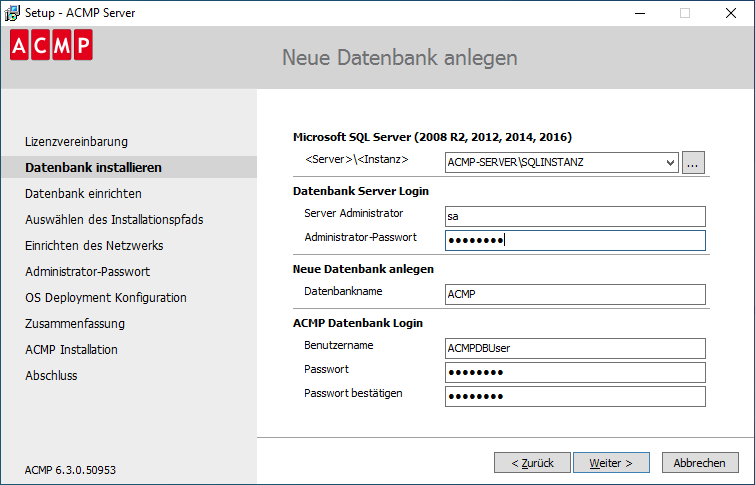
Enter the MS SQL Server (in the notation <Server>\<instance>), where you can specify the server name or IP address. If you want to find existing servers on your network, click on the  icon and load one of the existing databases into the field.
For the 'Database Server Login', enter a user who has the right to create databases and users. Define the name of the new database for ACMP under "Create new database". The "ACMP Database Login" user (here: ACMPDBUser) is created on your SQL Server and configured so that it only has rights for the ACMP database. This user will then be used by the ACMP Server to connect to the SQL Server or the database.
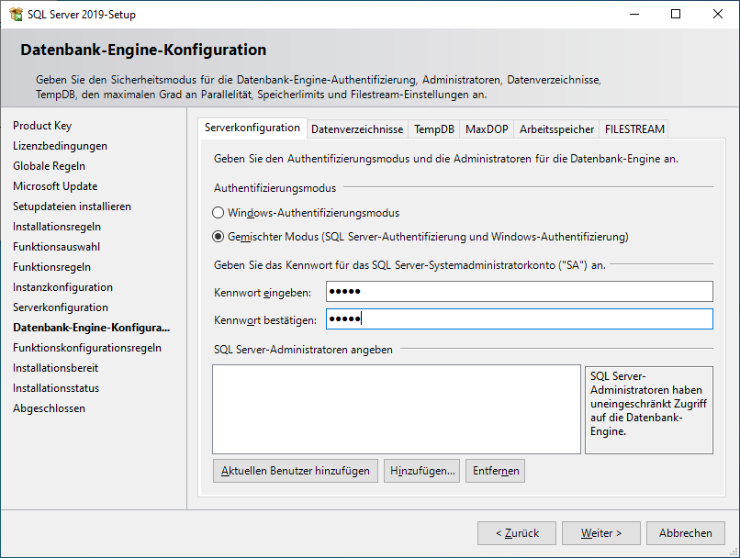
Also make sure that the correct authentication mode is selected. This can be found under Database Engine Configuration. Select Mixed Mode for the installation, which allows SQL Server and Windows authentication.
Encrypted connection to SQL Server
You can establish an encrypted connection between the ACMP Server and the SQL Server either by using Transport Layer Security (TLS) or by creating an IPSec tunnel and routing the communication data through it. The aim is to encrypt the transport data. Read here how the two options work.
Select ACMP installation path
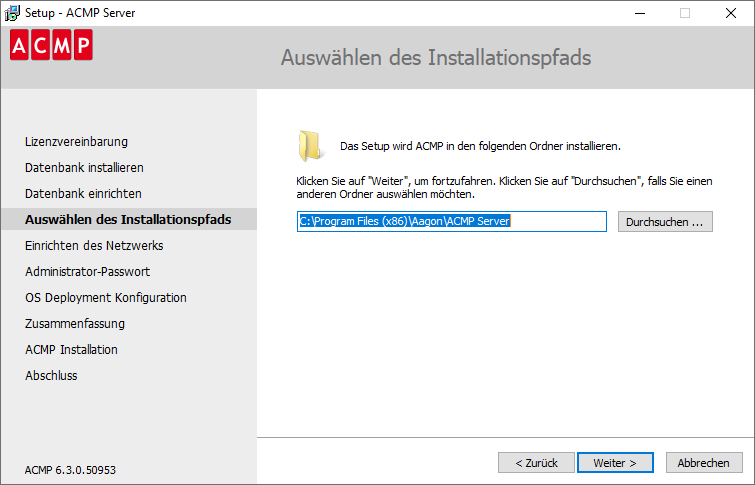
Specify the destination directory for the installation. You can enter the path manually or select it using the Browse button.
Configure ACMP Network
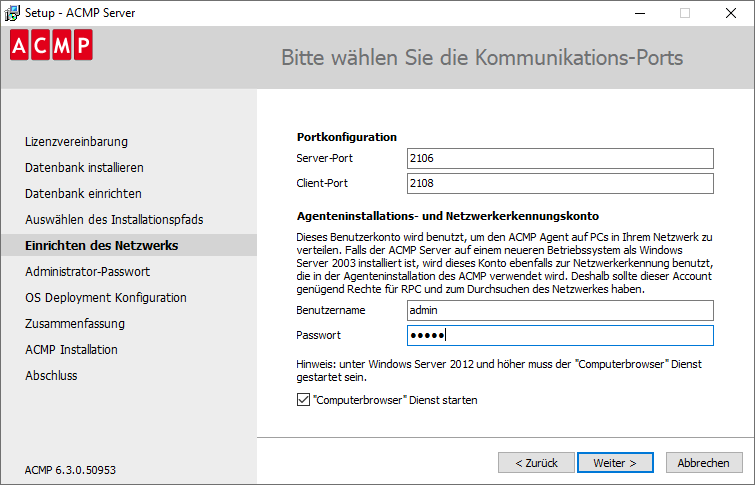
Specify the ports through which the ACMP clients and the ACMP server will communicate with each other. By default, the setup provides default values for the two communication ports (server port: 2106 and client port: 2108). However, these can be changed by you. If these port numbers are already being used by other programs, change the numbers so that ACMP is the only user of the ports. Also make sure that the ports for the server and the clients are different and not blocked by a firewall.
You can also create an Agent Installation and Network Discovery account that will be used to deploy the ACMP Agent to the machines on your network. The Network Discovery account is effective from a newer operating system than Windows Server 2003. It is recommended that this account has sufficient RPC and network browsing permissions.
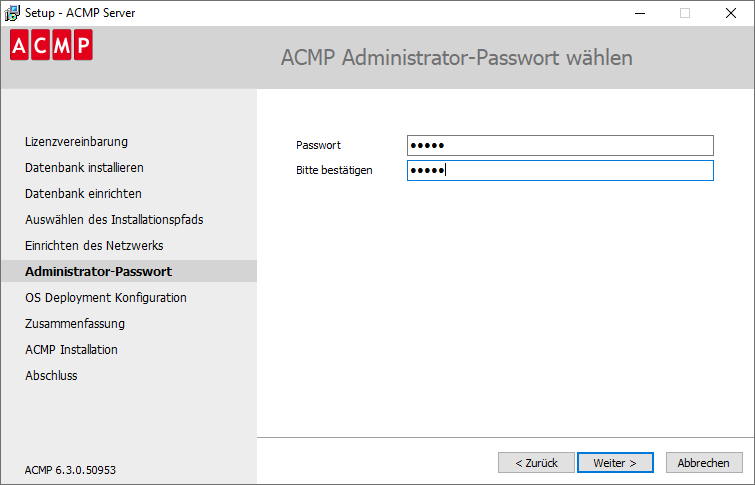
Select ACMP administrator password
Set a secure password for your ACMP administrator account.
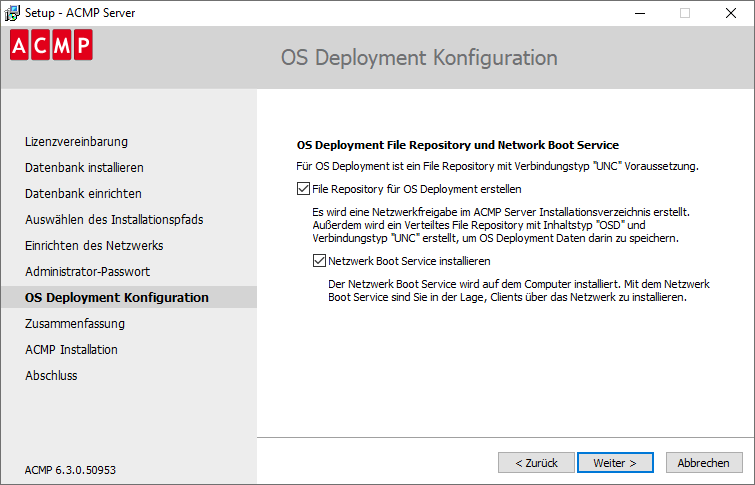
OS Deployment configuration
To use OS Deployment in ACMP, you need a File Repository (with connection type "UNC") and a Network Boot Service.
You can select these two options during the initial installation, or configure them at a later time. This may be necessary, for example, if a company has multiple sites and you want to perform rollouts or install Windows at these sites.
- Create a file repository for OS Deployment: If you select this option, a network share will be created in the ACMP Server installation directory. A shared file repository with content type 'OSD' and connection type 'UNC' will also be created to store OS Deployment data.
- Install the Network Boot Service: The Network Boot Service is installed on the machine. This will allow you to install Clients over the network later.
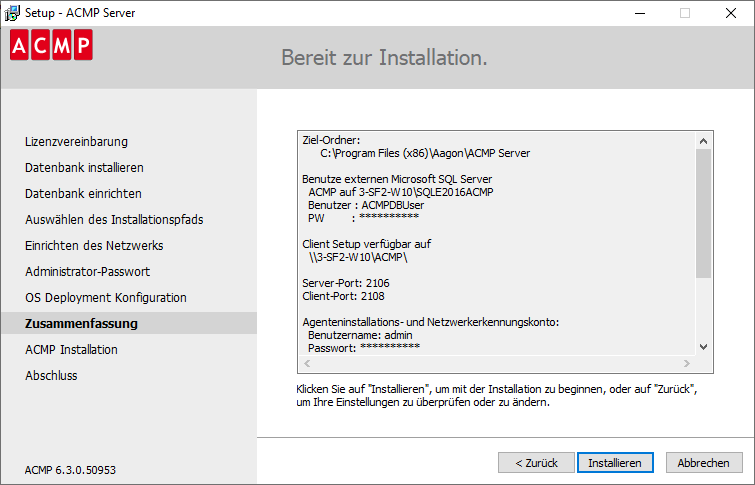
Summary
The summary shows the most important information about the installation, which you can review at this point.
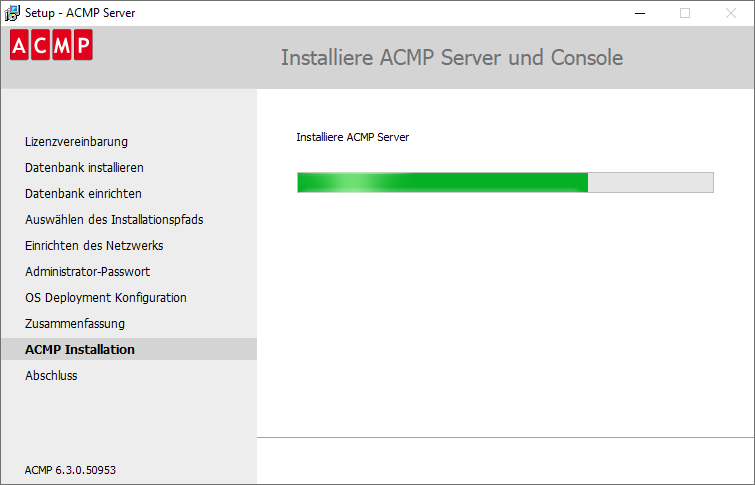
Installing ACMP Server and Console
When the installation is started, the ACMP server, the network boot service (depending on the selected settings) and the ACMP console are set up. You can follow the progress of the installation.
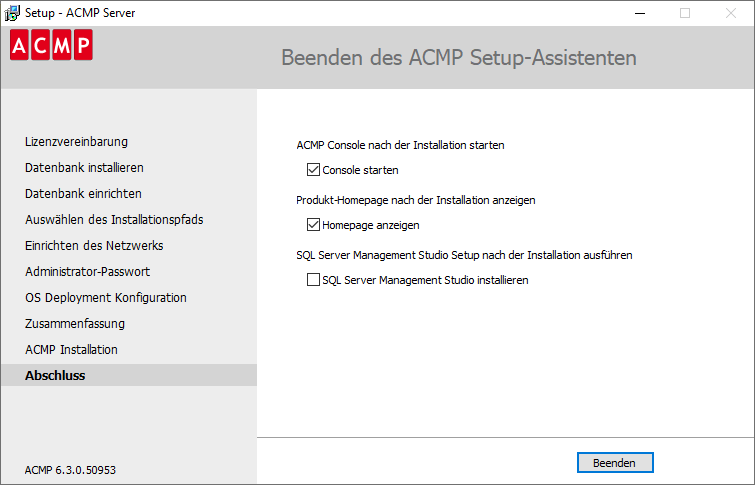
Finish (Completing the ACMP Setup Wizard)
On the last page you have the option to start the ACMP Console directly after the installation or to install the SQL Server Management Studio additionally. Click Finish to complete the installation.