


Working with the ACMP Console
This section explains the general structure of the installed ACMP Console and how to set up the Console when you first start it.
First Steps
Starting the programme
Start the ACMP Console. When you start the Console for the first time, it will try to install the available Updates and thus bring the ACMP Console up to the current version.
Login
The login dialogue opens each time the programme is started or after a logout. Depending on whether you have activated multi-factor authentification for yourself, a second window will open in which you have to enter a six-digit one-time code (see Changed login behaviour after activation of authentication factor for user).
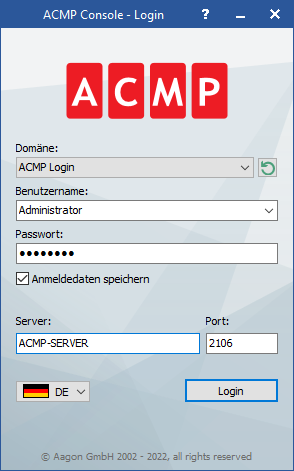
Login dialogue
Enter username and password
Enter the username and password to log in to the Console. When you first start, the username is Administrator. As password, enter the password that you entered under Administrator password during the installation of ACMP Console.
Changed login behaviour after activation of the authentication factor for the user
After a user has set up multi-factor authentification, the user is now prompted to enter a one-time code in addition to the password each time they log in.
After entering the required information (username and password to log in to the ACMP Console), a second window opens in which the user must enter the code from the authentication app on the mobile device. To complete the login, the user must click on Verify.
The Console now loads and opens as usual in the background.
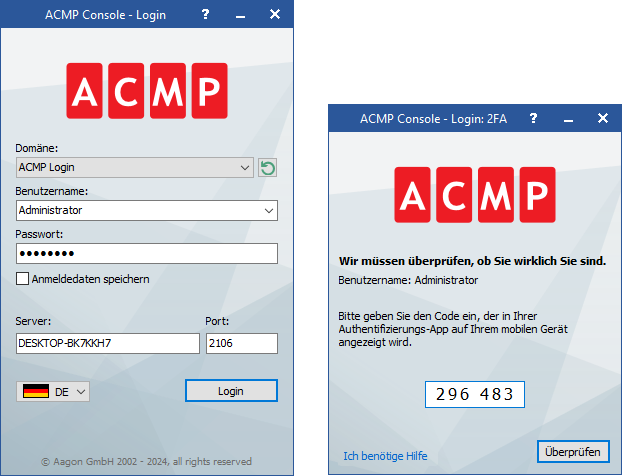
ACMP login with multi-factor authentification activated
If there are questions or problems with the login, the user can get continuing information from the help centre by clicking on the question mark button in the window title or by clicking on the „I need help“ link, which will open a help text that can be configured by the administrator.
Select domain and server
By default, the Domain field contains the value ACMP Login. This means that authentication with the user data is carried out using the ACMP Database. The ACMP Console can be configured to synchronise user data with an Active Directory (see User Management). In this case, the corresponding domain can be set using the drop-down list.
Enter the network name or the IP address of the ACMP Server as the server. The port corresponds to the one you entered during installation under Configuring the network, but the default is 2106.
Select language
Finally, select the desired language and confirm your entries by clicking OK.
Add server licence key
A window opens in which the server licence key must be entered before using the console.

Enter the server licence key or the offline server licence file
Enter the server licence key from the email received from Aagon under Enter server licence key.
In the rare case that you have an offline environment, you will also receive an offline file in ZIP format, which can be imported.
To do this, enable the radio button Select Offline Server Licence File and click on the symbol  . Then import the LicencePackage.zip file.
You can use Configure proxy to set whether you want to apply the system's proxy settings, use a manual proxy configuration, or use proxy authentication.
Then click OK.
ACMP First Steps Wizard
When the ACMP Console starts for the first time, the ACMP First Steps Wizard opens to help you install the ACMP Agent on your Clients.
Alternatively, you can access the wizard at any later time via System > Help > Display ACMP First Steps.
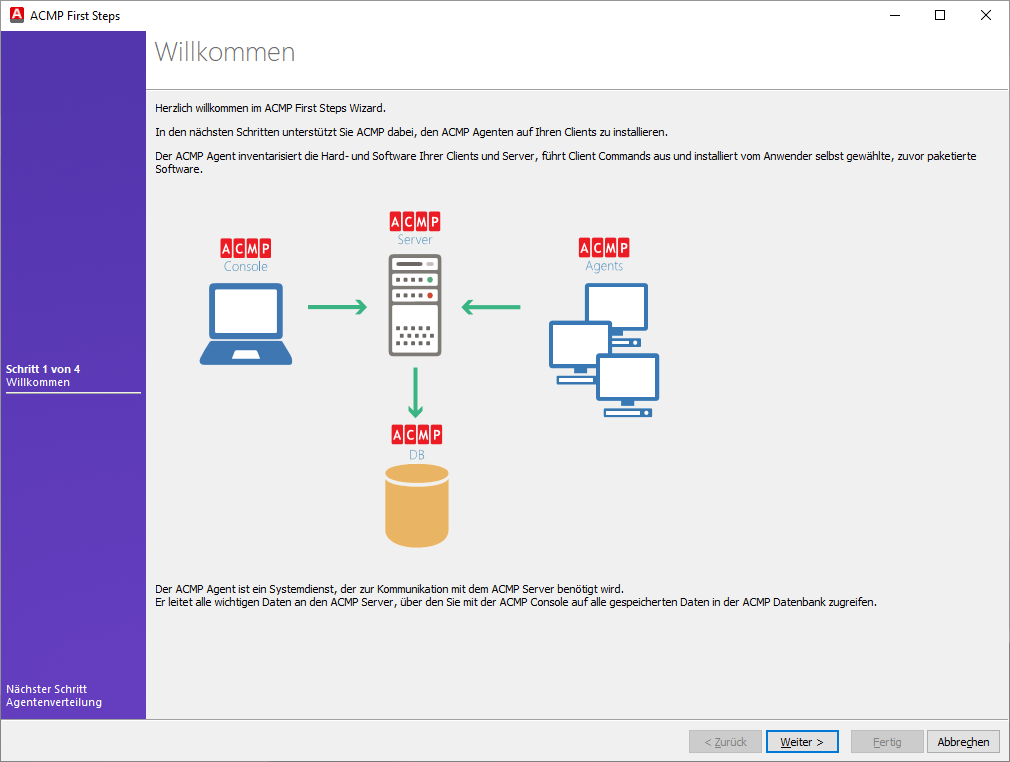
ACMP First Steps Wizard
1. Welcome
The first page shows a schematic view of the environment and how communication is enabled. Click the Next button to continue.
2. Agent Distribution
Specify the Clients on which the ACMP Agent is to be installed. You can choose from the following installation options:
- on the ACMP Server computer
- on a specific computer
- on selected computers
- not now.
After you have made your selection, click the Next button to continue.
3. Internet connection
The ACMP Console requires an internet connection to work optimally. You can define various proxy settings in this step.
Click the Test connection button to check the connection.
4. Installation started
When you have completed the configuration, click Next to start the installation. You can view the current installation status on the Job Monitor. If you want to see further information after completing the ACMP First Steps Wizard, tick the corresponding checkbox. Finally, click the Finish button.
The wizard will close and you will see the ACMP Console.
Recommended next steps
You can now execute the following actions, for example: