

Folder Management
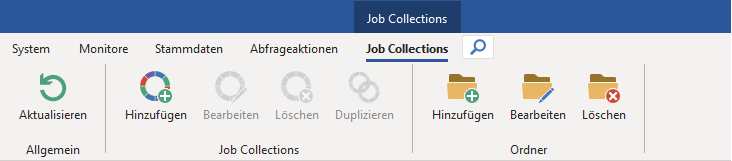
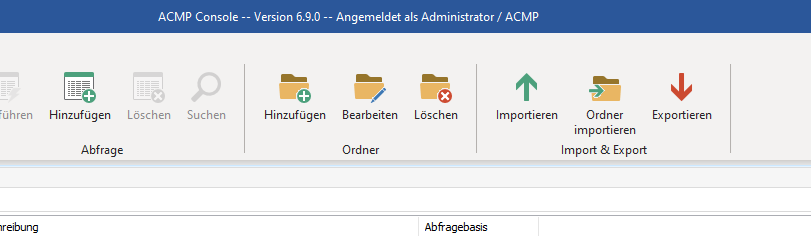
Folder management in ACMP is a key feature for structuring and clearly organising the content of each solution. A folder is not a standalone file in itself, but contains, for example, created Client Commands, Job Collections, Queries or details from the master data (documents, contracts). Folders are part of many sections and, where available, can be edited under the section of the same name in the ribbon bar. The editing options consist of the following three actions:  Add,
Add,  Edit and
  Delete.
Example of a folder import
Add folder
Regardless of the area in which you wish to create the items, the first step is to add a folder. In this example, we will create a new folder for Queries in the “Helpdesk” category. To do this, click  Add in the ribbon bar of the open ACMP Console (Client Management > Query Management). You will now be guided through a three-page wizard to create a folder.
Under General, you must provide some basic information for the folder, including the output directory where the folder is to be placed, as well as a name. You can use the button  to customize the output directory if you are not satisfied with the default selection. Please note that an output directory is not always required and that you can, for example, create the folder directly at the root level. Then click Next >.
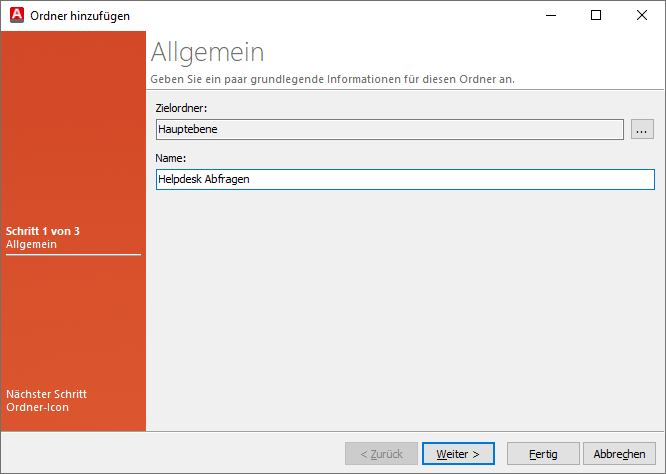
Add folder (General)
Under Folder icon, you can now assign a suitable icon to your folder. Use one of the icons provided or upload your own.
Tip: If you prefer to use custom icons, you can upload them here (![]() ) or change their names (
) or change their names (![]() ). If you want to permanently delete an icon (
). If you want to permanently delete an icon (![]() ), this is also possible. Please note that the icons must be in *.bmp or *ico format and must not exceed 16x16 pixels in size, otherwise only a portion of the original file can be used. If you wish to select a standard icon again, click
), this is also possible. Please note that the icons must be in *.bmp or *ico format and must not exceed 16x16 pixels in size, otherwise only a portion of the original file can be used. If you wish to select a standard icon again, click ![]() . Save (
. Save (![]() ) your changes at the end.
) your changes at the end.
Note: The changes you make here apply across all solutions. An uploaded icon will also be displayed in other areas or, if deleted, will be missing elsewhere.
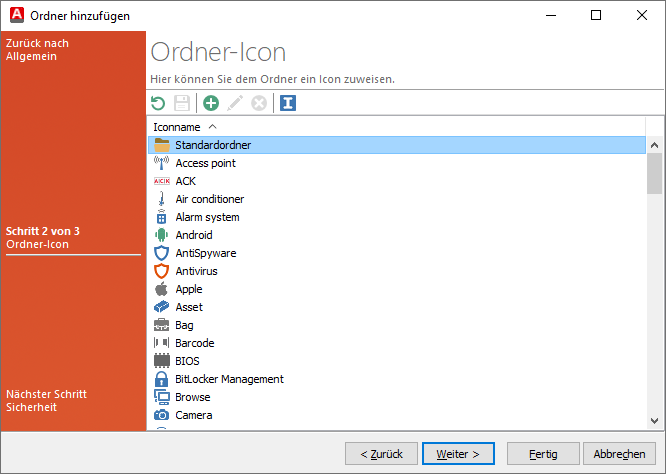
Ordner icon
Click Next > again to continue.
On the final page of the wizard, you can set the folder’s security: which groups and users are allowed to view the folder. For more information on how to assign permissions, see the section Access Listen (ACLs).
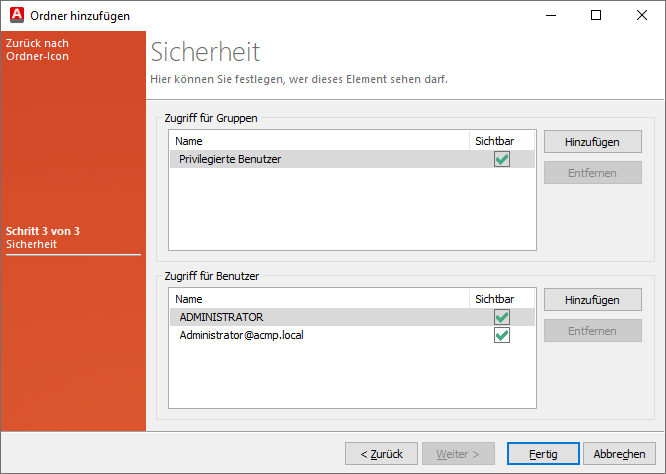
Create permissions and access for the folder
Exit your work and click Done. The newly created folder will appear on the target level.
Edit or delete folders
Once created, folders can be edited, moved or deleted entirely. To make changes to an existing folder, choose it and click  Edit. A window will open where you can correct or customize the details. The tabs are in the same order as in the Add folder section (General, Folder icon and Security).
To remove a folder, click  Delete in the ribbon bar and confirm the security prompt.
Import a folder
One notable feature is the  Import folder function, which has specific availability in the following areas:
- Query Management (Client Management > Query Management)
- Reports (Client Management > Reports)
- Client Commands (Desktop Automation > Client Commands > Adding)
- Ticket Management (Helpdesk > Ticket Management)
This allows existing folder structures – which, for example, were created on another ACMP system or backed up – to be imported (again).
Import folders in Query Management
When you select this action, a dialogue box will open allowing you to select a folder; you must choose the folder on your computer that you wish to import. Please note that, in nested structures (e.g. large environments with many Queries), the folder is always loaded at the level that was selected.
If you want to import a folder as a subdirectory, first select the folder into which the new folder is to be imported. If this folder has been exported previously, it will contain the configuration file “.fex4”, which stores the individual settings for the exported folder. You can also access the folder import function via the context menu.
Special features in each section
- Query Management/Helpdesk/Reports: When importing a folder, you will be asked whether you wish to export the security settings for the selected items. You can choose whether the settings should apply to both the query and the folder, or whether no security settings should be included.
- Client Commands: When importing a folder within Client Commands, you will be asked whether you wish to retain the original IDs of the Client Commands.