

Helpdesk Web Interface
General
The Helpdesk Web Interface is the platform where helpdesk staff can view and edit tickets, create new tickets and query the knowledge base. It is also possible to query ticket-related queries.
Page structure and login area
Access the web interface page by entering the following address in your browser: http://[ip]/Helpdesk/
- The [ip] is a placeholder for the IP address of the computer on which the web interface is installed.
The login page is the first page you see on the web interface. Enter your username and password in the input fields to log in successfully. If you have selected a different authentication setting, you may also need to log in via Active Directory. Optional, you can request your password by clicking on the button of the same name. To do this, enter the stored email address and the password will be sent to you. Otherwise, continue by logging in.
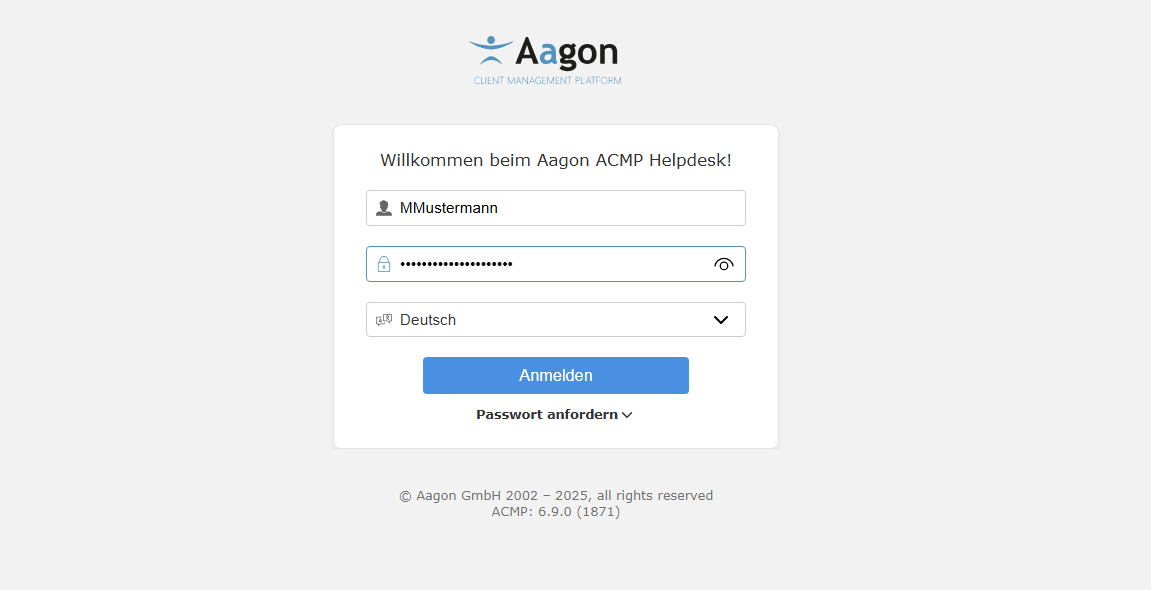
Login windows in the ACMP Helpdesk
Structure of the Web Interface
The Web Interface is divided into three areas or tabs: Info, Ticket Overview and Knowledge Base. In addition, you will find the Profile with which you are logged in and where you can change your password if necessary in the top right-hand corner.
Info
The Info tab lists the information pages that were created in the ACMP Console under the setting of the same name (System > Settings > Web Interface > Information Page) and that you have already seen when logging into the helpdesk. The prerequisite for this is that they have the status "Active" and are therefore current. If several pages are active at the same time, they are displayed collapsed one below the other. The order of the messages is identical to that in the settings.
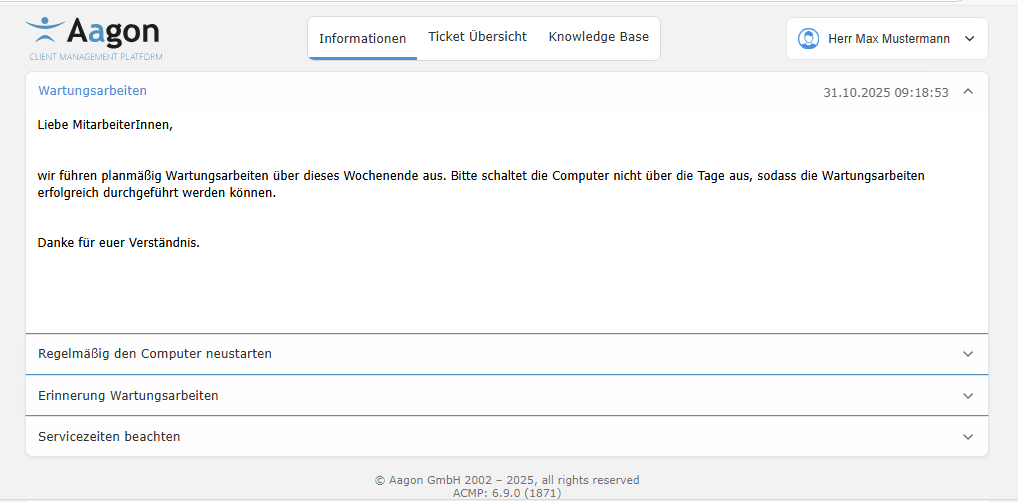
Example of various info in the helpdesk
If the display of the information is time-limited, you can specify a start and end date in the settings. The start point of the message is then displayed in the top right-hand corner.
Ticket Overview
The ticket overview is divided into two main areas: Queries and Tickets.
In the upper area, you will find ticket-related and some general queries, divided into the categories "Date Related Queries", "Default Queries", "Escalation Related Queries" and "Working Time and Costs Related Queries", which you can also find in the ACMP Console under Query Management. These Queries can be executed by double-clicking or using the button  . Select a Query for which you want to display the tickets. After a short loading process, the selected Query and the results of the Query are now displayed in the lower section.
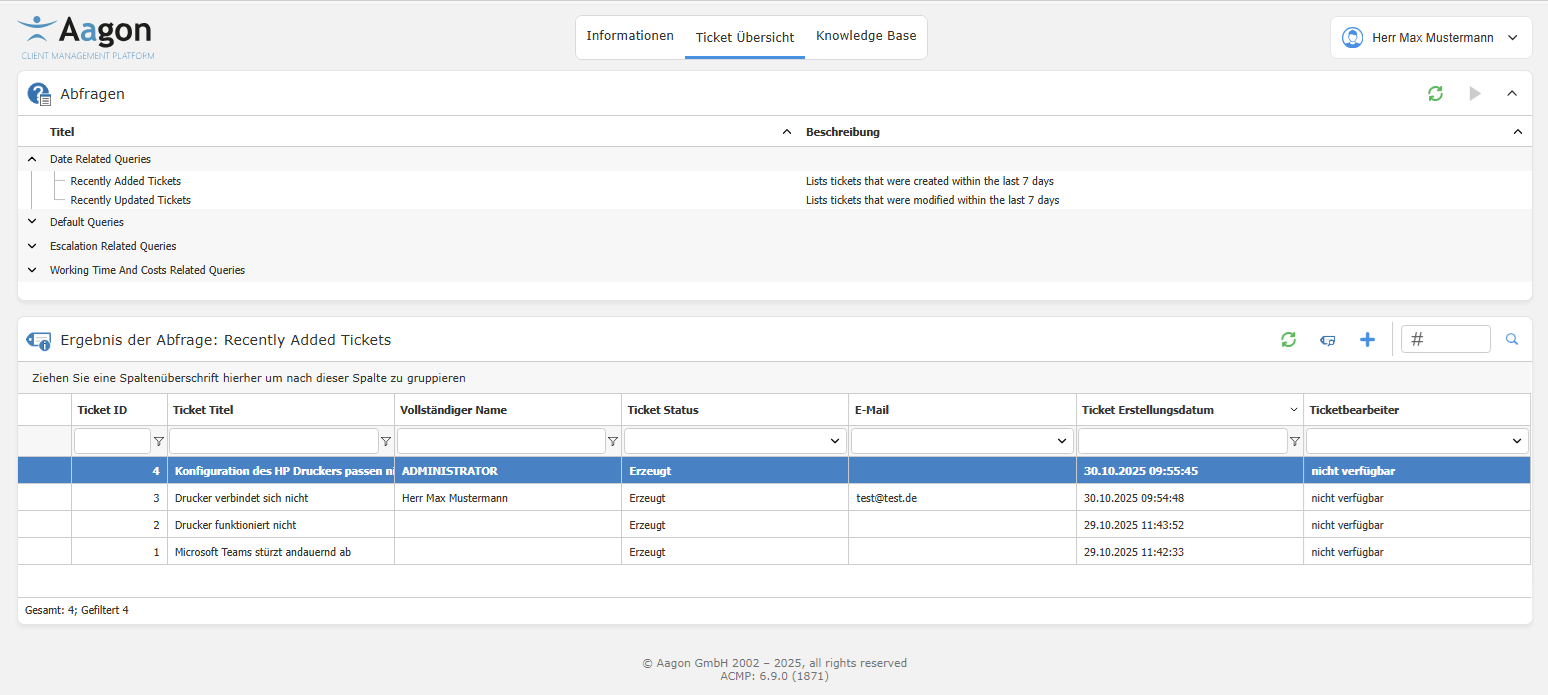
Ticket overview and generated tickets
The tickets (here for the query ‘Recently Added Tickets’) are now displayed in a grid, divided into individual column headers. Click to refresh the ticket view ( ) or click
  Show Tickets if you wanrt to view a selected ticket in the detail view. Create an new ticket
  or search for a specific one using the search bar. To customize the view according to your preferences and, for example, to display the results grouped according to a specific criterion, drag one of the columns to the top row to enable continuing sorting of the results.
Tip: For more information on this topic, please refer to the chapter Structure of a grid in ACMP, which describes additional configuration options.
In addition, you can use the input elements above each column to filter the tickets continuing according to the value entered. You can use a free filter  for the "Ticket ID", "Ticket Title", "Full Name" and "Ticket Creation Date" fields. For the two columns "Ticket Status" and "Email" a preselection is made based on predefined fields.
If the query results have been filtered, the corresponding filter appears below the results. The filter can be activated or deactivated using the selection box in front of the displayed filter. If the filter is not sufficient, it can be advanced and changed as desired. To do this, click on the filter text. A small dialogue box will open. If you click on an object here, all the options that you can use in the corresponding position will be displayed. To remove a filter and no longer apply it to the search results, click on Delete below the list.

Example of a filter that must contain the word "Printer" in the title
To hide areas, you will find an arrow in each right-hand corner, which can be used to collapse the content.
Create tickets in the Helpdesk
To create a new ticket, navigate to the Ticket Overview tab and then click on  Create Ticket. A new window will open.
Now fill in the fields for the ticket. First, assign a title that briefly summarises the problem. Below the description, you can describe your problem and apply common formatting to the text, as well as insert links or tables. If you want to embed a graphic in the text, click on Select File and upload an image. Optionally, enter some keywords for the ticket.
Using the attachments, it is also possible to attach file formats other than graphics to the ticket. To do this, click on  Add attachment and select a file. You can also add a comment if you wish.
It is possible to edit the comment in the attachment retrospectively ( ). If you want to remove the attachment completely, click on
  Delete attachment.
On the right-hand side, you must enter details about the contact who created the ticket. Click on Select contact, select the correct contact from the contact address book and confirm your entry.
The contacts stored here are identical to those in the ACMP Console (Master Data > Contacts). Within the details, you can now enter some information, such as an agent, a category or a priority for the ticket.
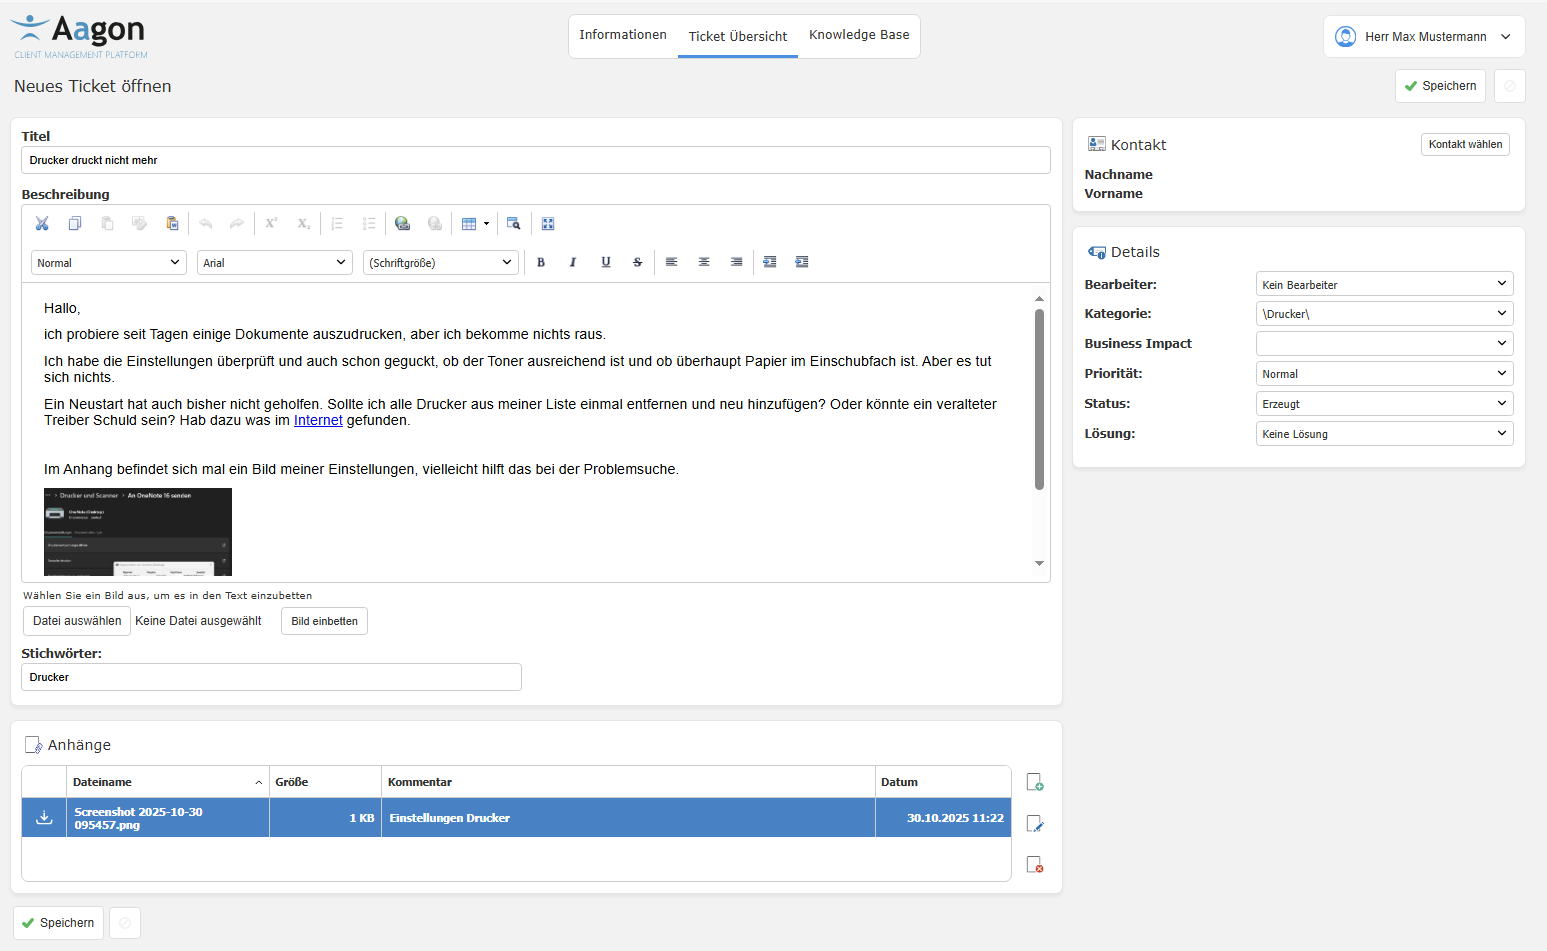
Create a new ticket
To create the ticket, check your details again and click on Save. The newly created ticket will now appear in the ticket overview.
View and edit ticket details
The ticket details can be viewed in every ticket that has already been created. To do this, double-click on the desired ticket or click on  Display ticket. The interface is almost identical to that used when creating a new ticket, except that you cannot make any active changes to the title, description, contact details and general information (creator, keywords, etc.). Instead, you have a comment function and history and can change the information on the right-hand side.
 Edit.
Edit. Whether the images are automatically displayed in the tickets depends largely on the settings you have chosen (General settings: Automatically download embedded images in the Web Interface). If the images are hidden, placeholders are displayed instead and you can only click on the images to load them later. You can find the images under the attachments.
As a user, you can change some information directly after creating a ticket without having to click on Edit. This data can be found in the "Info" section. Editable fields can be recognised by the icon ( ) next to them (see Processor and Status).
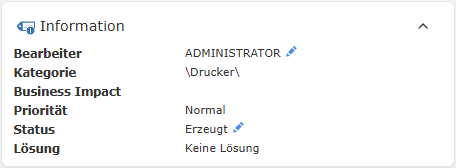
Editable fields within the info
Click on the row you want to change and enter a new editor or change the status. Select the appropriate entry from the drop-down menu and confirm the change with OK. For the status, you can choose between ‘Created’, “Viewed”, ‘In progress’ and ‘Pending’, and any changes will also be reflected in the ticket overview view. If you want to change basic information on the ticket, e.g. because additional data needs to be added to the description that has not yet been entered, or because you want to insert other keywords, you must click on  Edit. This allows you to make changes (corrections, different formatting, etc.) to a ticket that has already been created. Save your changes afterwards.
Comment on tickets
When working on a ticket, it can be useful to leave a comment that records the progress or affiliation of the ticket, for example, if there is a team of ticket processors, so that others can also stay informed. All comments are timestamped and the comment author is named. The two checkboxes Comment is visible in Self Service and Send comment as email to these addresses also give you the option to share your comment with others. To send an email, you must enter a valid address. Then click on Add comment.
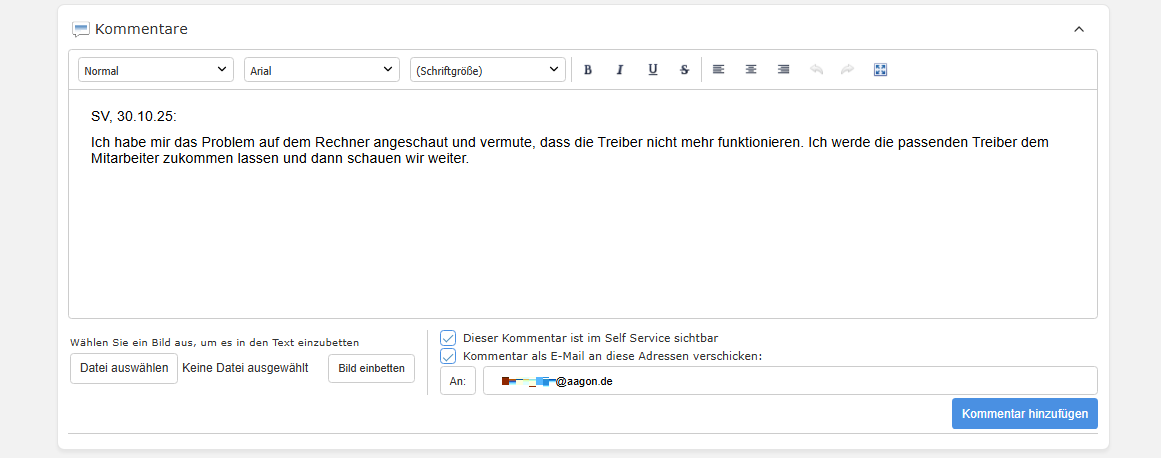
Comment function when editing tickets
Close tickets
A ticket can be closed for various reasons: In the best case, a solution has been found for the problem described ("Done"), the facts are not comprehensible, or the information is incomplete, which is why it cannot be solved.
To close a ticket, you must first display the ticket in the ticket overview. Only from this view can you access the  Close button.
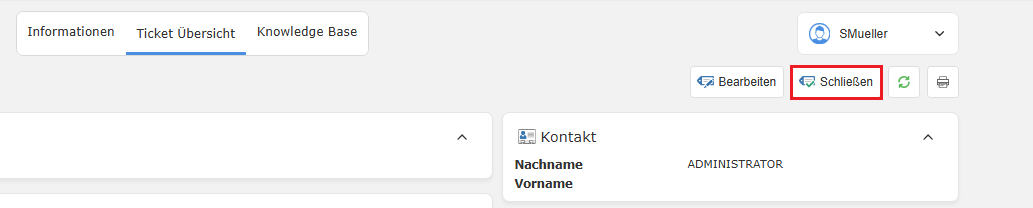
Option to close a ticket
A new window will open in which you must fill in the required fields (the agent, the category and the solution) in order to close the selected ticket. Optional, insert a reason why the ticket was closed. Tick the box under Comment is visible in the Web Interface if you want to inform others about the reason for the solution. Finally, click on Close and to overview to exit the process.
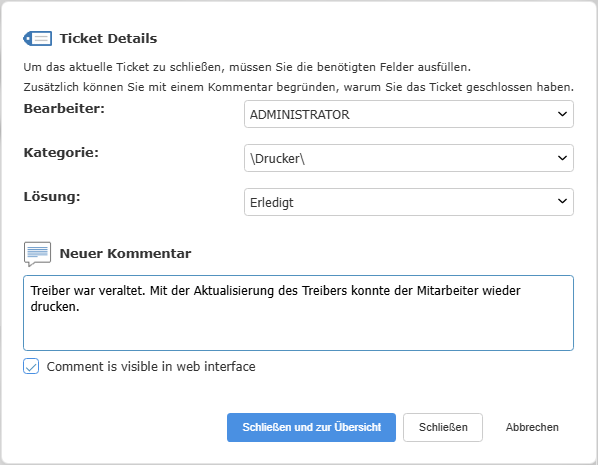
Close ticket including comment
If a closed ticket needs to be reopened for any reason, you can do so by clicking the  Reopen ticket button. The button is only available for closed tickets in the top bar.
Knowledge Base
The Knowledge Base tab lists the Knowledge Base articles that were previously created in the ACMP Console (Helpdesk > Knowledge Base > Overview). The structure of the articles in the Web Interface is based on the structure that was developed in the Console. This allows you to create folders that provide a summary of various articles on a particular problem or topic, providing an ideal match to the hierarchy level in the ACMP Console.
Each article has an article ID and a heading. In addition, you can see when the article was created and last edited on the right-hand side within a folder. A search bar above the articles helps you find the right search result. To do this, enter a keyword and press  or start the search with Enter. If you want to print an article or the overview, click on Print
  . For a detailed view of an article, simply select the desired article.
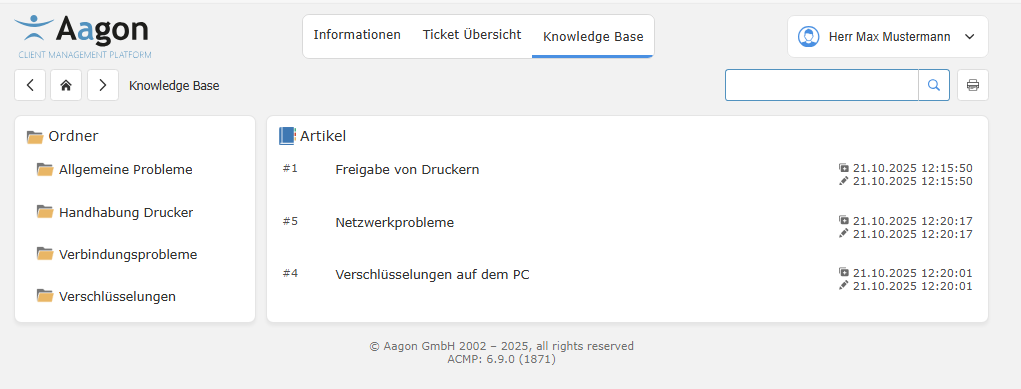
Overview of the articles in the Knowledge Base
Detailed view of a Knowledge Base article
Open the article of your choice. The articles are structured as follows: The first row contains the title of the article ("How do I open the Software Kiosk?") as well as general information about when and by whom the article was created, and a possible date when the article was last edited. The first box below contains the question that the article addresses. Below that is the answer box. If files have been attached to the article (images, PDFs, etc.), these are listed in the attachments (last box on the page) and can be downloaded separately.
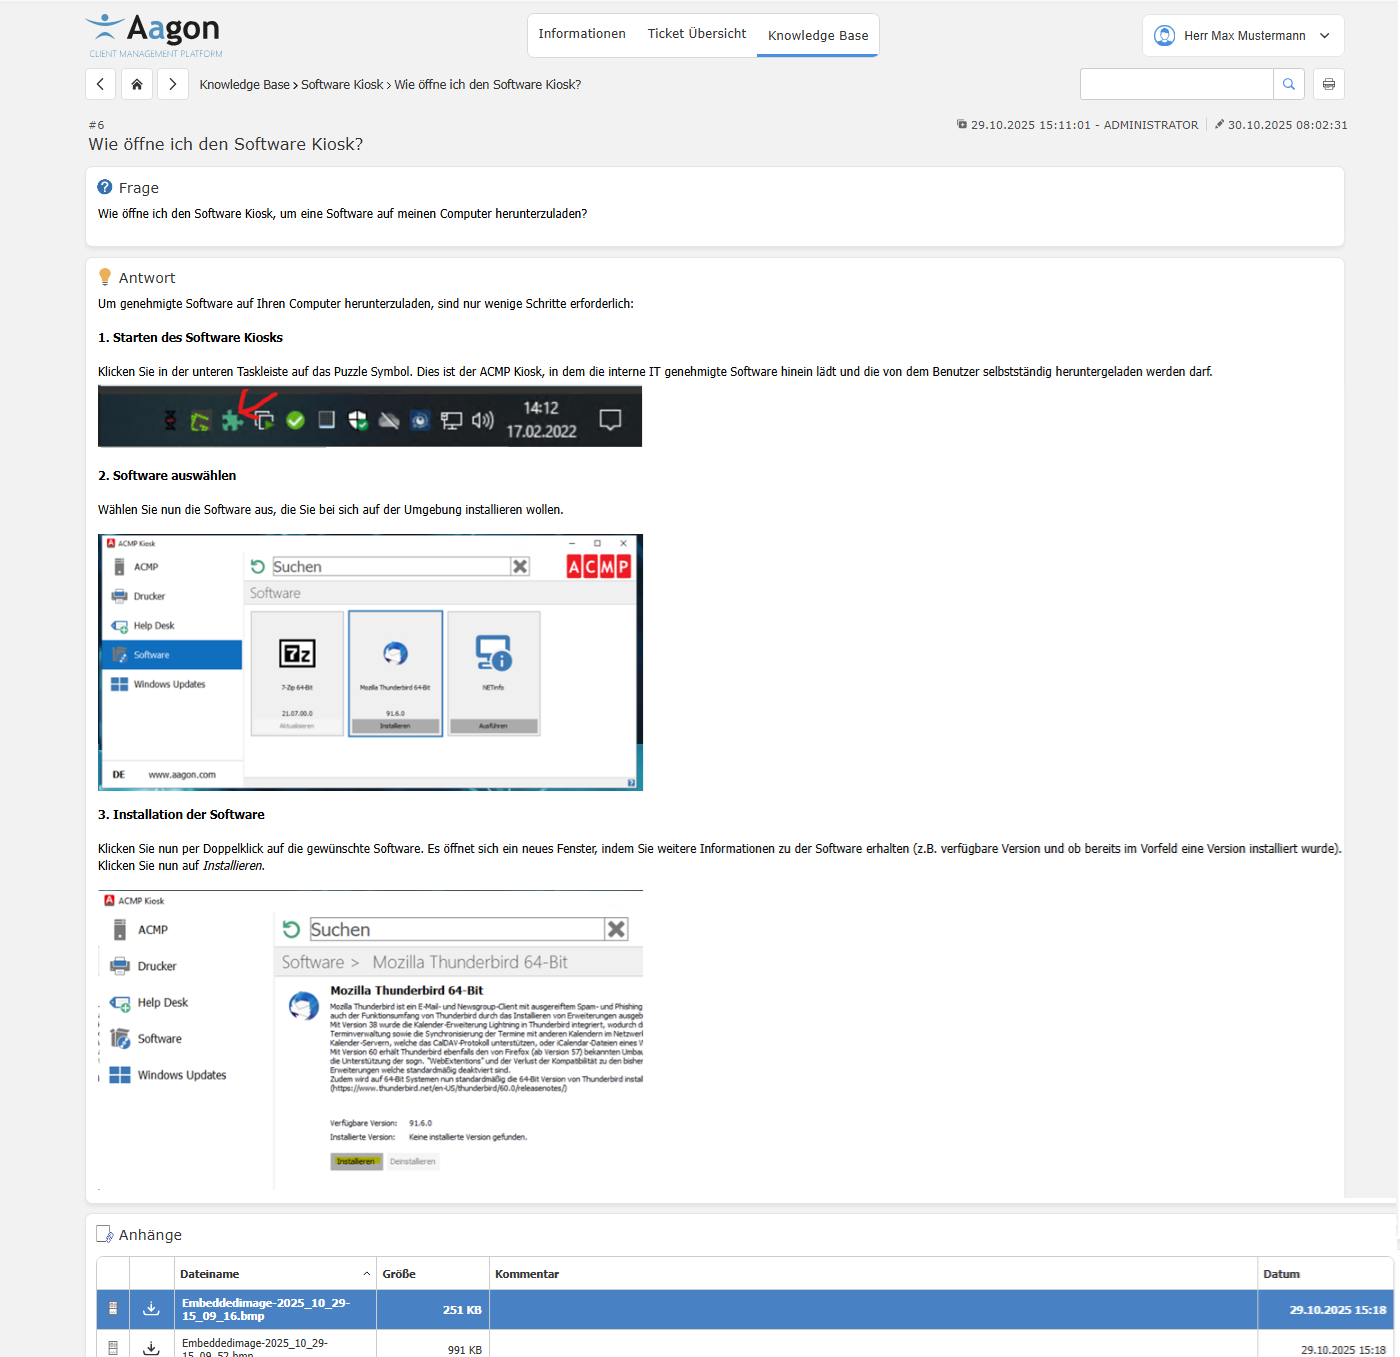
Example of an article in the Knowledge Base
Edit user profile
You can open the user profile at any time, regardless of where you are in the web interface, by clicking on the button in the top right-hand corner. The user name stored here is composed of the contact details (Master Data > Contacts). Click on the > Profile button to view the details of the logged-in user. Here you have the option to change your password. To do so, enter your current password and enter a new one in the two lines below, then click on Save password.
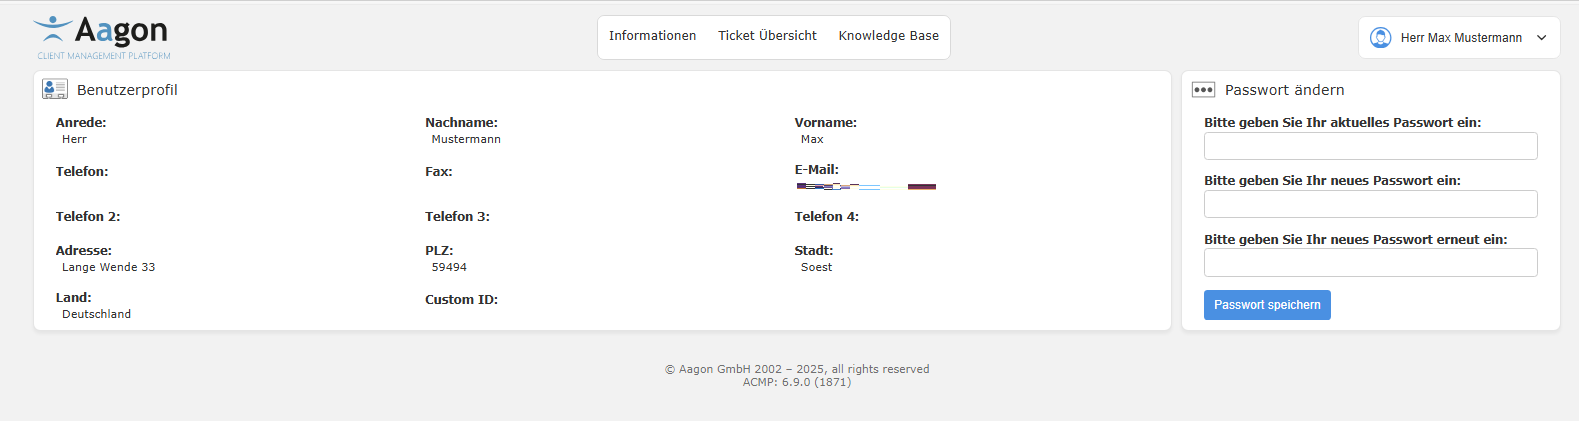
View of the user profile in the web interface