


Transferring specific parameters for software distribution to a Client Command, using 7-ZIP as an example
Initial situation
If you want to distribute software to certain Clients, you have the option of building a Client Command and then providing it with parameter values that only apply to this Client Command. With these parameters, you can have various tasks executed within the Client Command without having to create multiple Client Commands. For example, you can use the parameters of the client command to determine whether the software should be installed or uninstalled before execution
In this case, 7-ZIP (64-bit) is to be installed. To do this, the Package Wizard is used to build the client command. This creates a client command that performs the intended functions and automatically contains the appropriate parameters.
In a later step, the built client command is transferred to a container that contains the Clients on which 7-ZIP is to be installed.
Open the package wizard
1. Navigate to the Client Commands > Create module.
2. Go to the ribbon bar under Package Wizard and select the desired operating system from Windows, Mac and Linux. In this case, the Windows operating system is selected.
Running the package wizard
1. In the first step, enter a name and, if necessary, a description of the package, e.g. 7-Zip. Choose the folder in which the Client Command should appear and the installation type. In this case, MSI/MSP files, since the software in question consists of an MSI file. Click Next >.
2. Then add the MSI file via Add file. The file path of the MSI file appears. Click Continue >.
3. In the next step, you can specify the execution sequence and, if necessary, integrate a transformation file via drag and drop. In this case, it should be left as it is for execution. Click Continue >.
4. In the last step, you can specify user-defined properties for the package. Click on Generate to create the package.
5. The wizard will then tell you whether the package was successfully generated. If it was not, you will see a red cross under Status at the relevant step.
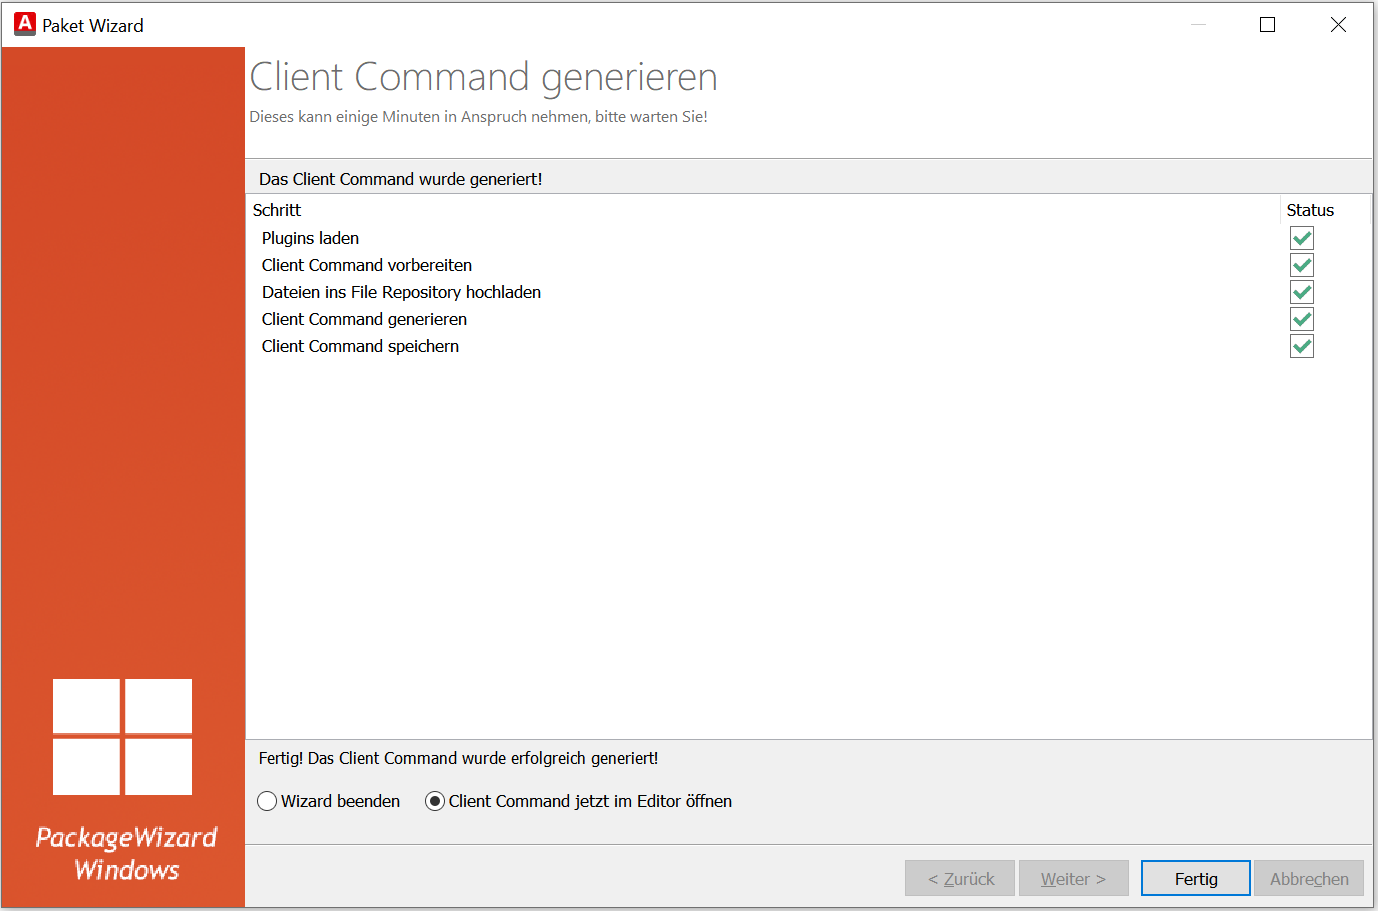
Creating Client Commands in the Package Wizard
6. To view the parameter values, you have to set the radio button under Client Command now open in the editor.
Editing parameters in CC Editor
1. You can see the client command created in the package wizard in the script.
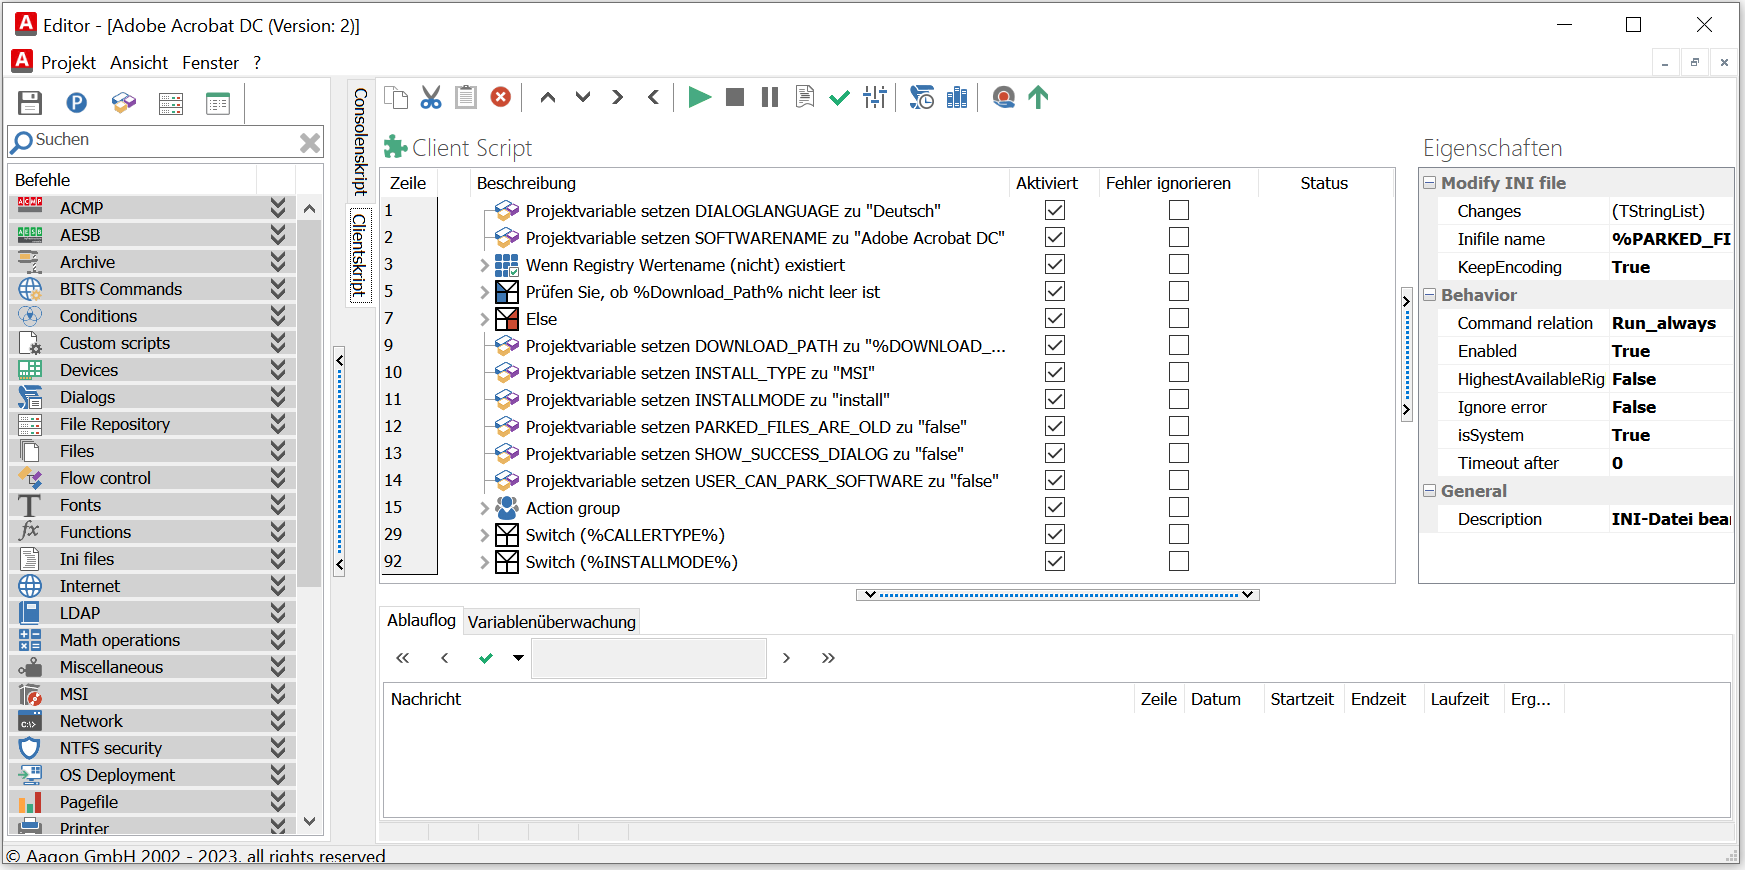
The client command script shows the created client command
2. Navigate to Menu bar > Properties > Client command specific > Parameter.
3. You will see an existing parameter that you can edit to match the action that the software should perform on the clients.
4. Double-click on the parameter. You can change the German and English names as well as the ACMP Kiosk option.
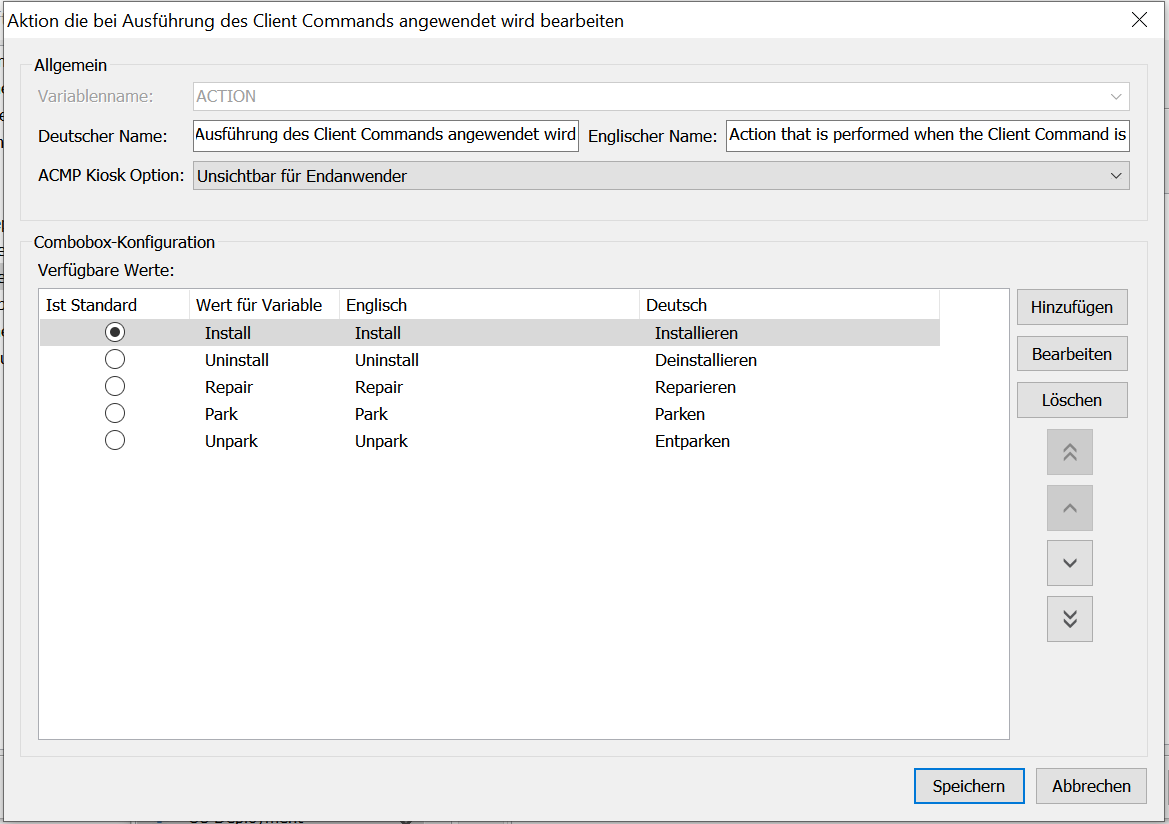
Editing parameters
5. You can see the following values under Combobox Configuration:
| Value | Meaning |
| Installation | Install the software. |
| Deinstallation | The software should be uninstalled. |
| Repair | In the event of a defect, the software will be repaired. |
| Parking | The software is pre-copied and stored on the client, but not installed. |
| Unparking | The software is removed from the client on which it was previously stored. |
Use the Actual Default value to specify the default value to be passed when the client script is executed.
6. Click Save.
Running Client Command phases
The client command can now be pushed through the Test, Synchronise, Release and Execute phases.
Transferring parameters within a container to client commands
1. Go to Client Management > Container.
2. Select the container that contains the clients on which the actions are to be executed or create a new one. If you create a new container, remember to add the clients to it.
3. Select the Jobs tab in the workspace and then click Add in the ribbon bar to attach a job to the container.
4. A new window will open. Under Type of Job, select the Client Command job and then, below that, double-click to select the Client Command that was just created, in this case the 7-Zip Client Command.
5. The CC appears in the list under Available Client Commands. Click on the Client Command to display the parameters below it. The parameters now show fixed parameters, which every CC has and which cannot be configured by the user, and variable parameters, which can be added, deleted and configured by the user. In this use case, for example, these were added in advance by the package wizard in the client command.

Create Client Command Job
6. Choose action from the values that should be applied when executing the CC, in this case Install.
7. Then click OK.
8. Then select a start condition.
You have now attached a Client Command job to the container, which enables execution with 7-ZIP on the desired Clients. You can use the parameter action that is applied when the Client Command is executed to individually decide whether it should be installed, uninstalled, repaired, parked or unparked.