

Settings for ACMP Intune Management
ACMP Intune Management settings
The basic requirement for displaying data from your Intune tenants in ACMP Intune Management and working with it is that you configure at least one portal in the settings. Once you have created a portal, the required information is imported and made available to you in ACMP Intune Management.
Manage Intune portals
First, navigate to the settings (System > Settings > Intune Management) to begin preparation for all continuing work. The view is divided into two parts. On the left side, you will see the action fields where you can add ( ), edit (
 ) or delete (
 ) Intune portals. A list of all existing portals that you have previously created can be found below. On the right side is the detailed view of the selected portal.
Add Intune portal
To add a new portal, click the button with the same name Add ( ) in the bar. A wizard opens that guides you through the next steps. On the first page, you can enter the name and description for the portal.
Tip: Make sure to use a clear name. Ideally, the portal should have the same name as the Intune tenant itself.
Click Next > to continue.
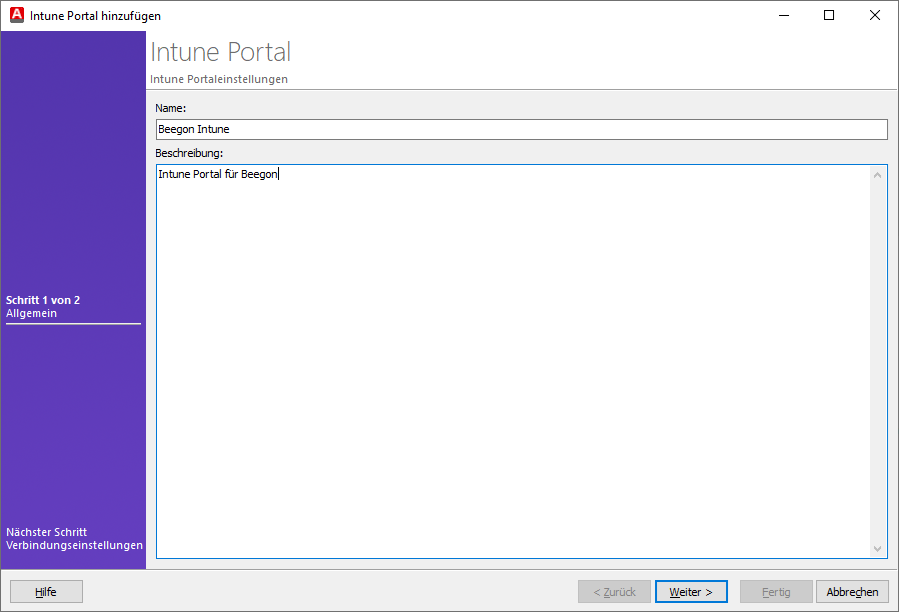
General information when adding an Intune portal
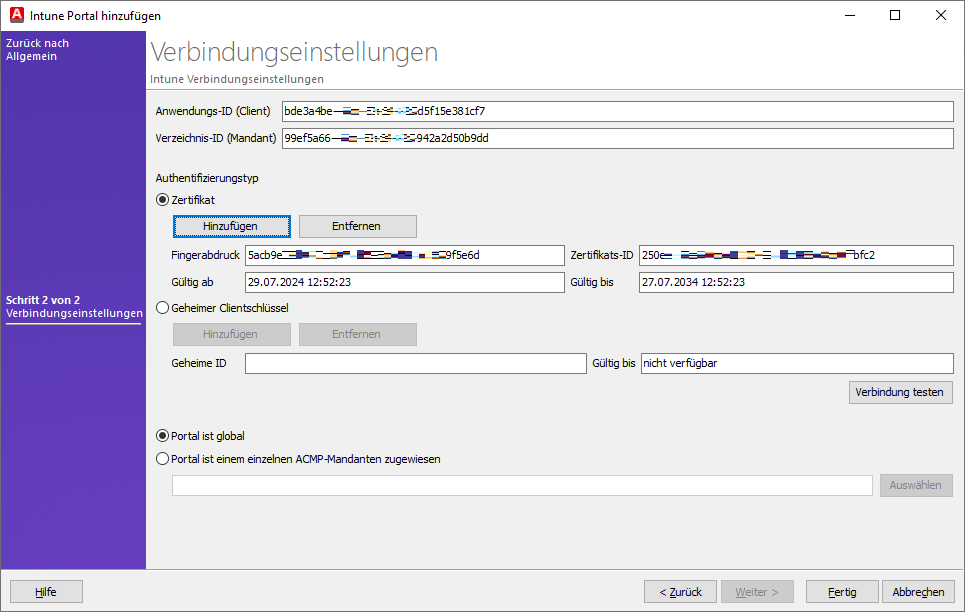
Now enter the application ID (client) and the directory ID (tenant) in the fields provided.
Then select the authentication type you want to use for the connection information. You can choose between the certificate and the secret client key.
Certificate
Select the authentication type Certificate and click on the Add button. A new window will open in which you must now insert the public and private keys. To do this, click on the button  and insert the appropriate key that you used earlier in the preparations for Microsoft Azure. Close the step by clicking on OK.
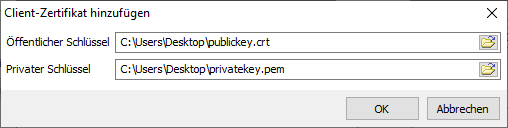
Add client certificate
If you want to delete the certificate, you must click on Remove.
Secret client key
Click Add below the secret client key if you want to select this authentication method. A new window opens in which you must enter the secret ID and the value of the secret client key. Also specify a validity period. Exit the step by clicking OK. You will be taken back to the wizard.
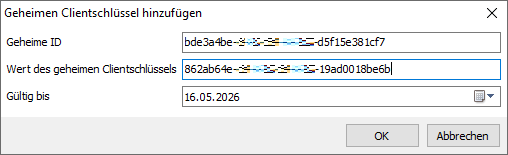
Entering the secret client key
Connection information for the Intune portal
Depending on the authentication type selected, only the corresponding fields will be filled in. In this explanation, the type Certificate was used.
Check your connection by clicking Test connection. This allows you to ensure that the information entered so far has been inserted correctly.
Optional ACMP multi-tenancy
If you use ACMP multi-tenancy, you can assign the portal and the data stored there to a tenant. This means that ACMP users can only view the data of the tenant they are logged in to. There are two options available here:
| Tenant option | Description |
| Portal is global | The portal is not assigned to a specific tenant, which means that it is only visible to the tenant administrator. |
| Portal is assigned to a single ACMP tenant | The portal is assigned to a specific tenant. A tenant can have multiple portals, but a portal can be assigned to at most one tenant. |
Exit the wizard by clicking Finish. You will be returned to the overview page within the ACMP settings, where the new portal has been added to the list.
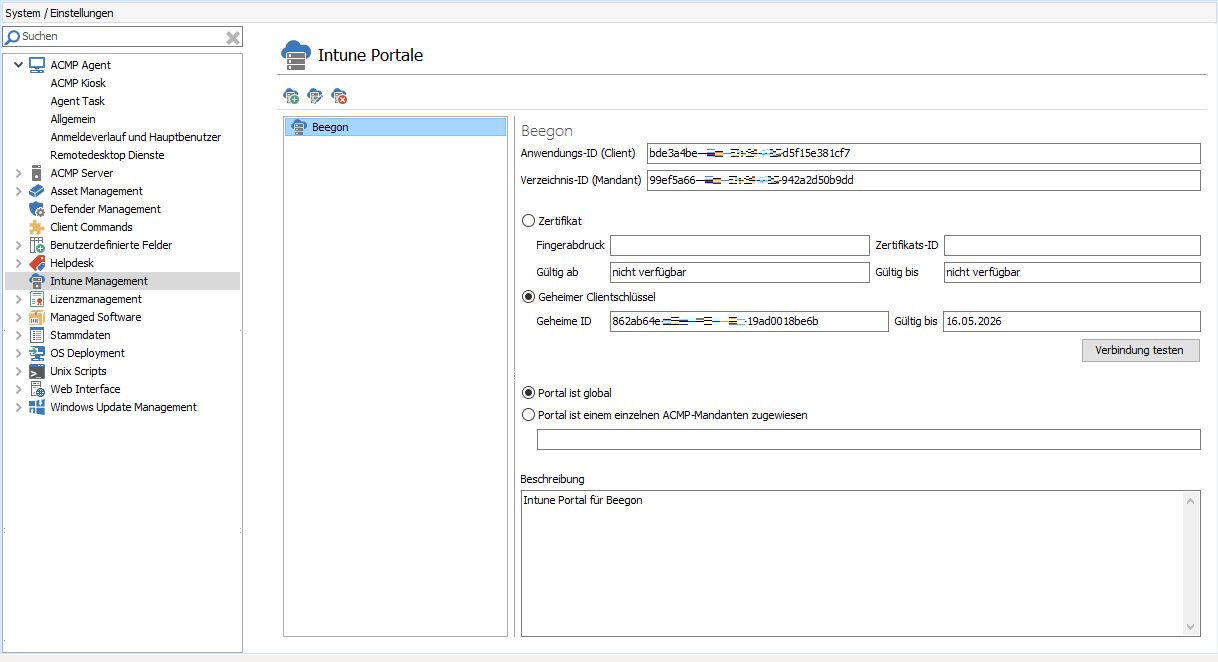
Portal added in Intune settings
Edit or delete Intune portals
Existing Intune portals can be edited or deleted. If you want to edit an existing portal, for example to make changes to the authentication type or description, click on the Edit ( ) button. A window opens in which you can now customize the information provided. The information is divided into two tabs: General and Connection Information. Change all the information you want and then click Save.
To delete an Intune portal, click on the action of the same name Delete ( ). Confirm the security question with Yes and the data will be removed.
Additional settings areas for Intune Management
Scheduled Server task for importing Intune data
Intune data is imported via a scheduled server task, which is performed once a day by default. You can change the start condition of the server task as required.
Scheduled Server Tasks (System > Settings > ACMP Server > Scheduled Server Tasks)
| Server Task | Description | Standard start condition |
| Import Intune data | Imports Intune Apps, Groups, Users & devices | Start every day |
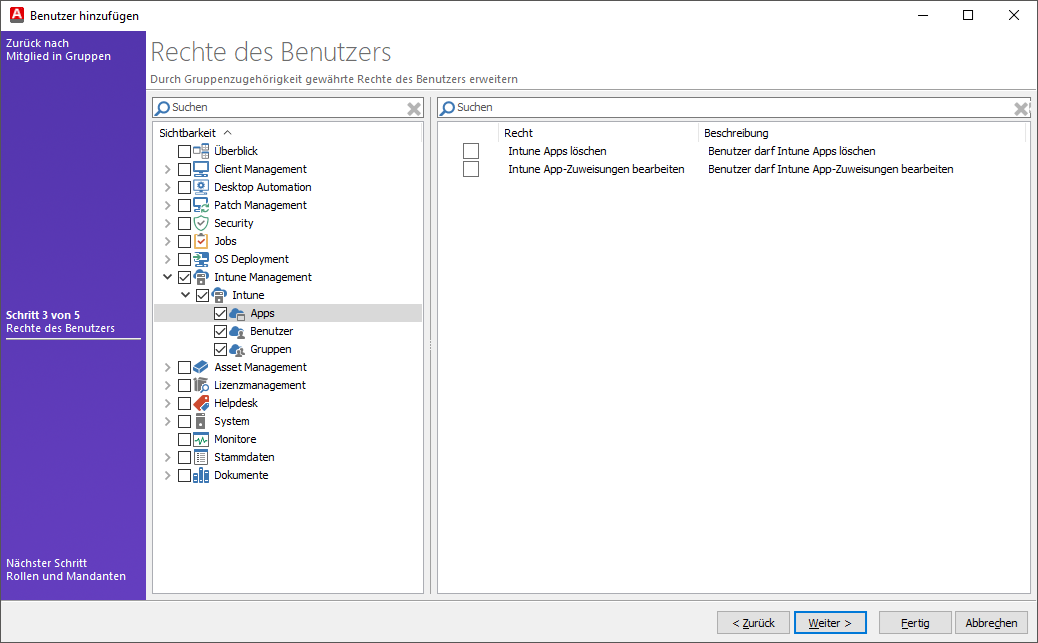
Intune visibility and permissions
The visibility and permissions allow you to control which users can see what and, if necessary, what they can edit.
The following permissions are available in connection with Intune Management:
Apps
| Right | Description |
| Delete Intune Apps | User is allowed to delete Intune Appse |
| Edit Intune App Assignments | User is allowed to edit Intune App Assignments |
Users
| Right | Description |
| Delete Intune Users | User is allowed to delete Intune Users |
| Edit Intune User Group Membership | User is allowed to modify Intune User Group Membership |
Groups
| Right | Description |
| Delete Intune Groups | User is allowed to delete Intune Groups |
| Edit Intune Group Members | User is allowed to modify Intune Group Members |
| Edit Intune Group Owners | User is allowed to modify Intune Group Owners |
Visibility of Intune Management permissions
If you want a user to also be able to use Intune-relevant actions in the query actions, these visibilities must be deployed separately. These permissions can be found on the same page under the section Client Management > Query Management > Query Actions:
- Send Intune notification
- Remotely lock Intune Devices
- Wipe Intune Devices
- Sync Intune Devices
- Retire Intune Devices
For more information about query actions, see the section Intune Management - Query Actions.