


Container Import
To import a Container or a complete Container structure, you must click on Import (![]() ) in the ribbon bar within the Container tab or call up the function via the context menu.
) in the ribbon bar within the Container tab or call up the function via the context menu.
A wizard will open and guide you step by step through the import.
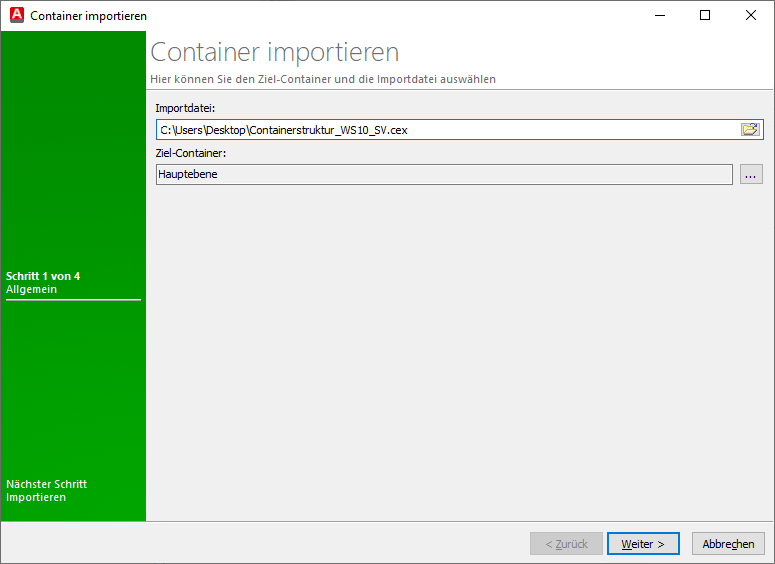
On the first page, select the Import file ( ) by browsing and uploading it. Then select the target Container for the folder selection, where the import should store the Containers. If you want to change the suggested path, click on Folder selection
  and disable the Add folder to root level checkbox and (if necessary) select an entry where the import should be placed instead. Click on Select and then on Next >.
Import Containers
On the next pages you will see an overview of the import file. It contains all the Containers that are in the .cex file. The structure of the files corresponds to the information and the order in which they were exported in advance.
You can now use the checkboxes to preselect which Containers are to be imported and which are not. By default, all Containers in the import file are checked in this view, so only deselect Containers as required. Use the search bar to find a specific entry if you want to import a large quantity of Containers.
The priorities of the Containers indicate how they are arranged in the new structure. The relationship to the Containers from the export was noted here.
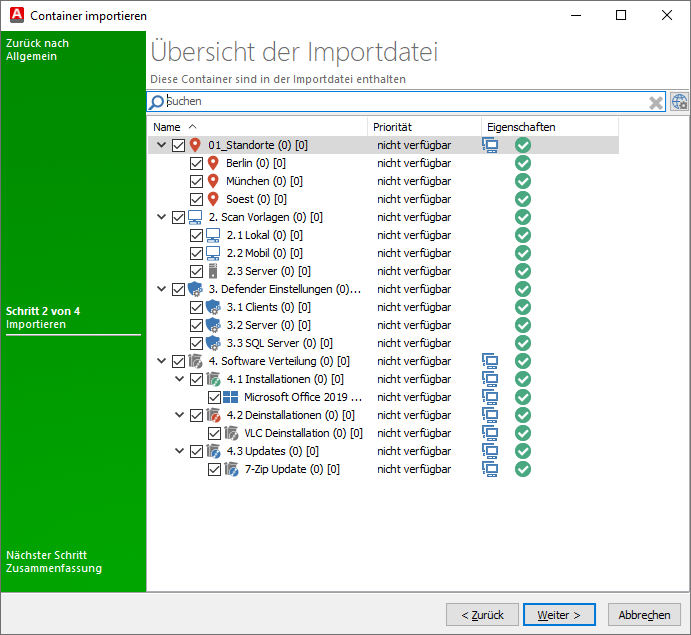
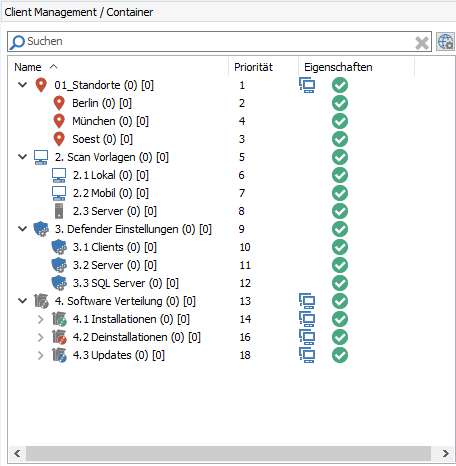
Overview of the import file
Click on Next > to display the import summary. In the summary, you can see what the Container structure will look like after a successful import. Containers that are imported successfully and in full are highlighted in green. If a warning triangle appears next to an entry, please refer to the following items in the legend:
| Icon | Meaning |
 | This Container contains import information. If you move the mouse over the respective entry, you can display them. Basically, there are several notes as to what kind of conflict might be present here:
|
 | The Container is imported. |
Imports at the root level are classified as global by default.
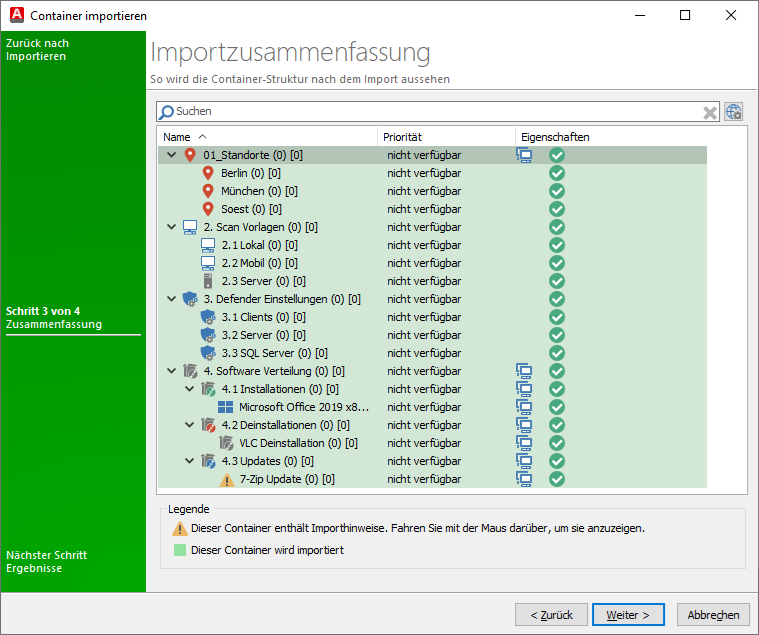
Import summary of the Container structure
To start the import, click Yes in the confirmation window. The import results are summarized on the last pages. Depending on the Container structure you are importing, different information may be displayed in the results window (ACMP Container, query filter, advanced SQL filter, custom fields and images and directories).
Please note the following notes on the behavior of importing the various info:
| Custom fields | If a Container is imported into a system in which a filter (standard filter and/or advanced SQL filter) uses custom fields, the system first checks whether the corresponding field already exists in this system. The internal ID of the custom fields is found. If the ID already exists, the field is not imported again. The display name and continuing properties of the existing custom fields are not considered. |
| Directory | During an import, the folders of the custom images (from which the icon for the Container can be assigned) or the custom fields (folder structure of the dynamic Client links in which the custom fields can be created) can be meant. |
| Priority | The priorities of the imported Containers remain in relation to each other and are arranged in the previous structure. The newly imported Containers are always created with a lower priority (higher number) than the existing Containers. |
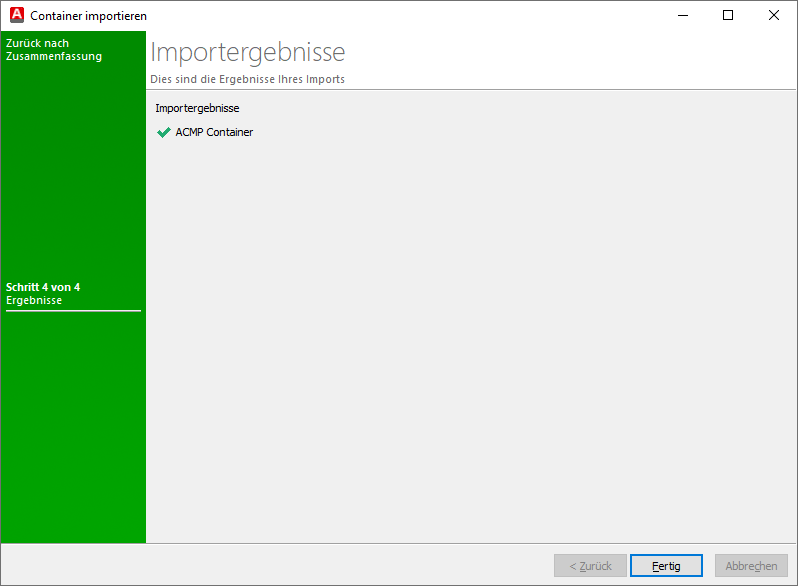
Import results
Exit the import and click on Finish. The new Containers will appear in the overview.
Example of an imported Container structure