BitLocker Management
ACMP BitLocker Management helps you centrally manage your operating system and hard disk encryption for added protection against external threats. BitLocker is a Microsoft security feature that allows you to encrypt your hard drives. This helps protect your data by preventing unauthorised reading or theft of sensitive information.
Configuration Profiles allow you to make settings directly on the client and apply them using a container or query action.
System requirements for BitLocker
- ACMP agent (not OSC or other)
- Operating system Windows 10 (Pro or higher) version 1511 or Windows Server 2016 version 10.0.10586
- TPM version 2.0 must be enabled
- UEFI mode must be available
- Powershell scripts must be able to be executed
- The Client ID must be unique in ACMP.
Allow the logged-in user to change the password
There are two ways to allow users to change a password at the Client.
Either you make the password change available to the user via the ACMP Kiosk, or you run a query action that displays a dialogue to the user at the Client, where a new password can be assigned.
Changing the BitLocker password using ACMP Kiosk
If you want to allow your users to change their BitLocker password at any time, follow these steps:
First navigate to the ACMP Kiosk (Client Management > ACMP Kiosk). Then click on Add Items and select System Jobs. A menu will open where you can select Options Change BitLocker password. Confirm the selection and a wizard will start to guide you through the process. Enter all the required information and exit the wizard.
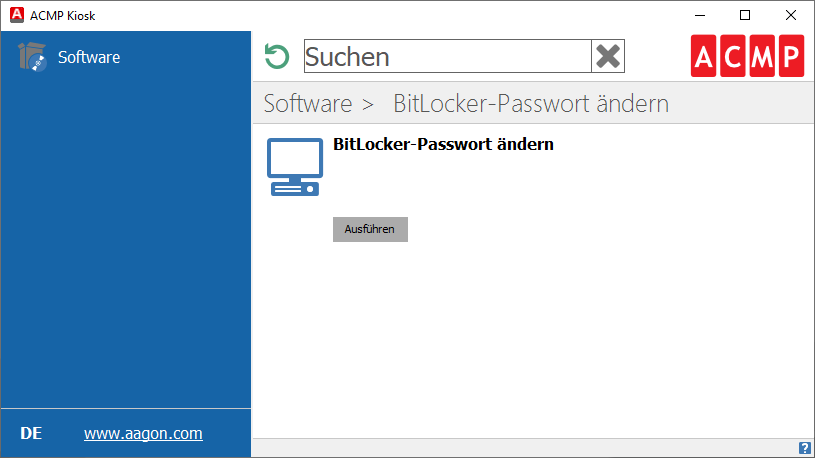
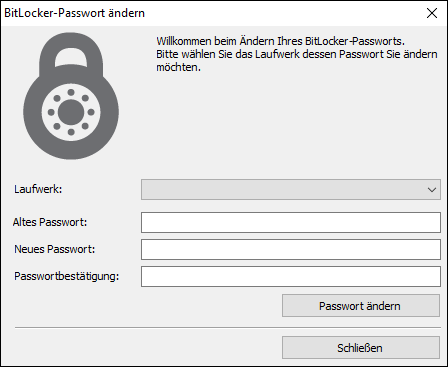
The user at the Client who has been given the password change can now access the shortcut via the ACMP Kiosk. After opening the Kiosk, the user has to click on Execute, which opens a dialogue on the Client. This dialogue allows the user to change the password. Under Drives, the user can select the drive for which the password is to be changed.
If the drive is currently locked, the user will also need to enter the old password.
Change BitLocker password via query action
If you do not want users to be able to change the password at any time without asking you again, you can make the changes by using a query action. This option can be started on demand.
To do this, open a query and select the client on which you want the user to change the password. Then click the BitLocker Management button and select Change BitLocker drive passwords. Confirm the action by clicking Execute.
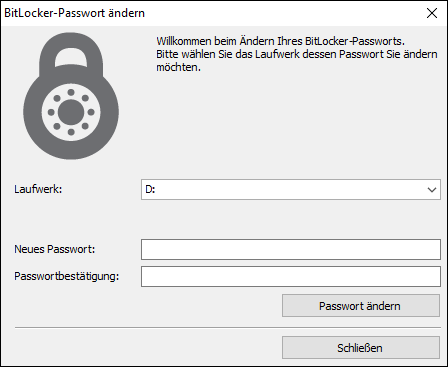
A dialogue box opens on the user's Client, allowing the user to change the password of a drive. The user can select the required drive, enter the new password and confirm. Click the Change Password button to save the changes. However, if several passwords for different drives are changed, the process must be repeated each time before the dialogue is finally closed with Close.
Disable BitLocker
If you want to disable BitLocker on one of your Clients, the only way to do this is through a Query Action. You will need to select all the Clients you want to disable BitLocker on. Then click the BitLocker Management button and select Disable BitLocker. You can choose to disable BitLocker on the operating system hard disk and/or fixed data drives. For the fixed data drive, you can choose to decrypt the entire drive or only selected partitions. If you choose the latter option, you will need to manually select the drives from the list.
Once you have started the job, the selected disks will be decrypted on the relevant Clients

Stop and continue BitLocker protection (system jobs)
If you have a Client where the operating system drive is encrypted, you can optionally require a system start PIN when the system boots. This means that the Client's operating system will not continue until the user has successfully entered the PIN. For example, if you run a Client command or job on the Client that requires a reboot, the job may not continue until the user has entered the PIN. To work around this, you can temporarily disable the protection so that the PIN is no longer requested. This can be done, for example, by running a system job in a Job Collection, thus temporarily suspending the system start PIN entry.
Navigate to the Job Collection (Jobs > Job Collection) and select the appropriate Collection that you want to use to pause BitLocker protection. The BitLocker-specific jobs can be found in the System Jobs drop-down box. If you have a Client Command or Job that requires a possible restart, you can create a Job Collection for it using the Stop BitLocker protection job. To do this, first set the Stop system job for BitLocker protection, and then add the possible job or command to the collection.
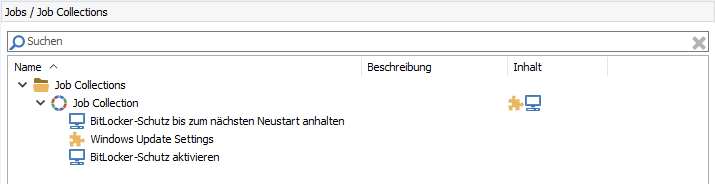
If the command or job does not require a restart, and therefore the client is not restarted, it is possible that BitLocker protection will be removed. However, you can play it safe and ensure that protection is always re-enabled by using the Turn on BitLocker protection system job. To do this, set the system job to Resume BitLocker protection after the job or client command. This enables the protection again.
Managing BitLocker in Client Details
You can view the details of the BitLocker settings from the Client Details (Software > Security > BitLocker Management). All drives of the selected Client are listed.
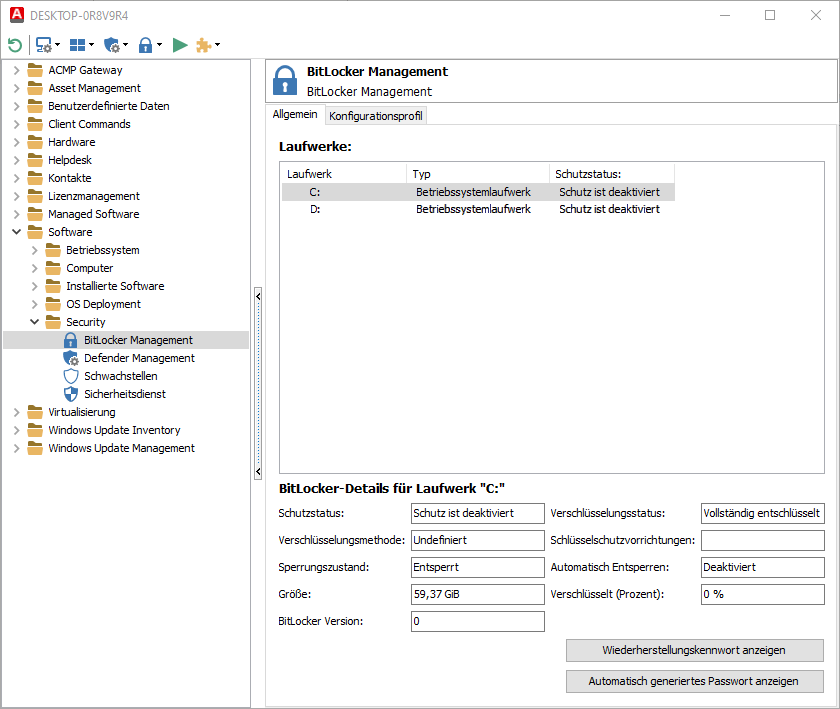
The General tab allows you to view the general status, the protection status of the drives on the Client and which key protectors are being used. Further details are stored and displayed for each drive. For example, you can see at a glance the encryption method, hard drive size and encryption status.
You can also use Detail View to view the recovery password with the appropriate permissions. To do this, click the Show recovery password button and copy the password if necessary. If you have selected an automatically generated password for the key protectors of the hard disks, you can view it by clicking Show automatically generated password.
The Configuration Profiles tab shows which profile has been assigned to the Client. It can be identified by the name and the type of assignment (manual assignment or via a container). You cannot make any direct changes here, you have to go back to the Configuration Profiles.